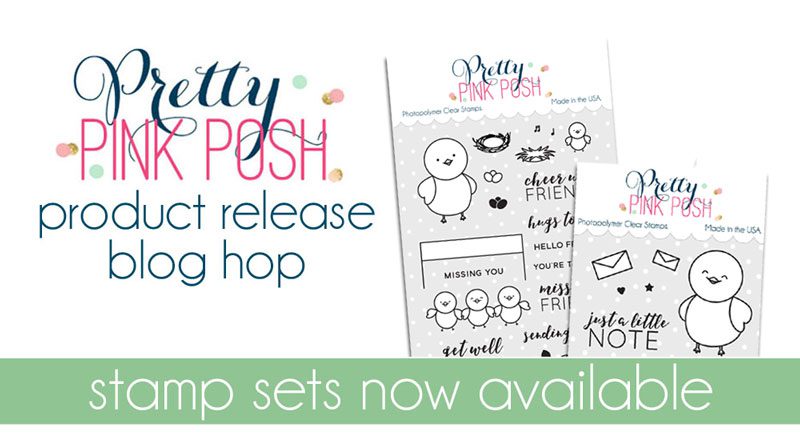
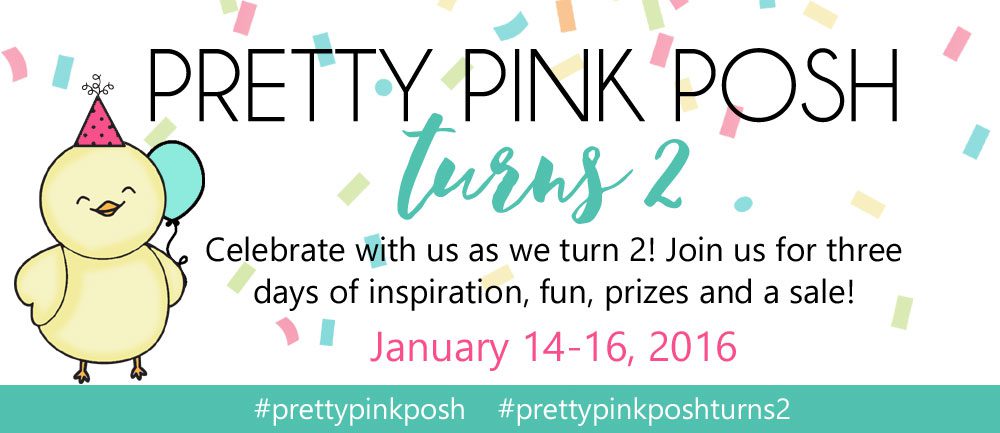
Happy Thursday everyone! Today is a special day as Pretty Pink Posh is turning TWO years old! Can you believe it?? Over the next few days there is going to be loads of inspiration from many designers, giveaways, discount codes and more, so I hope you will be joining us!
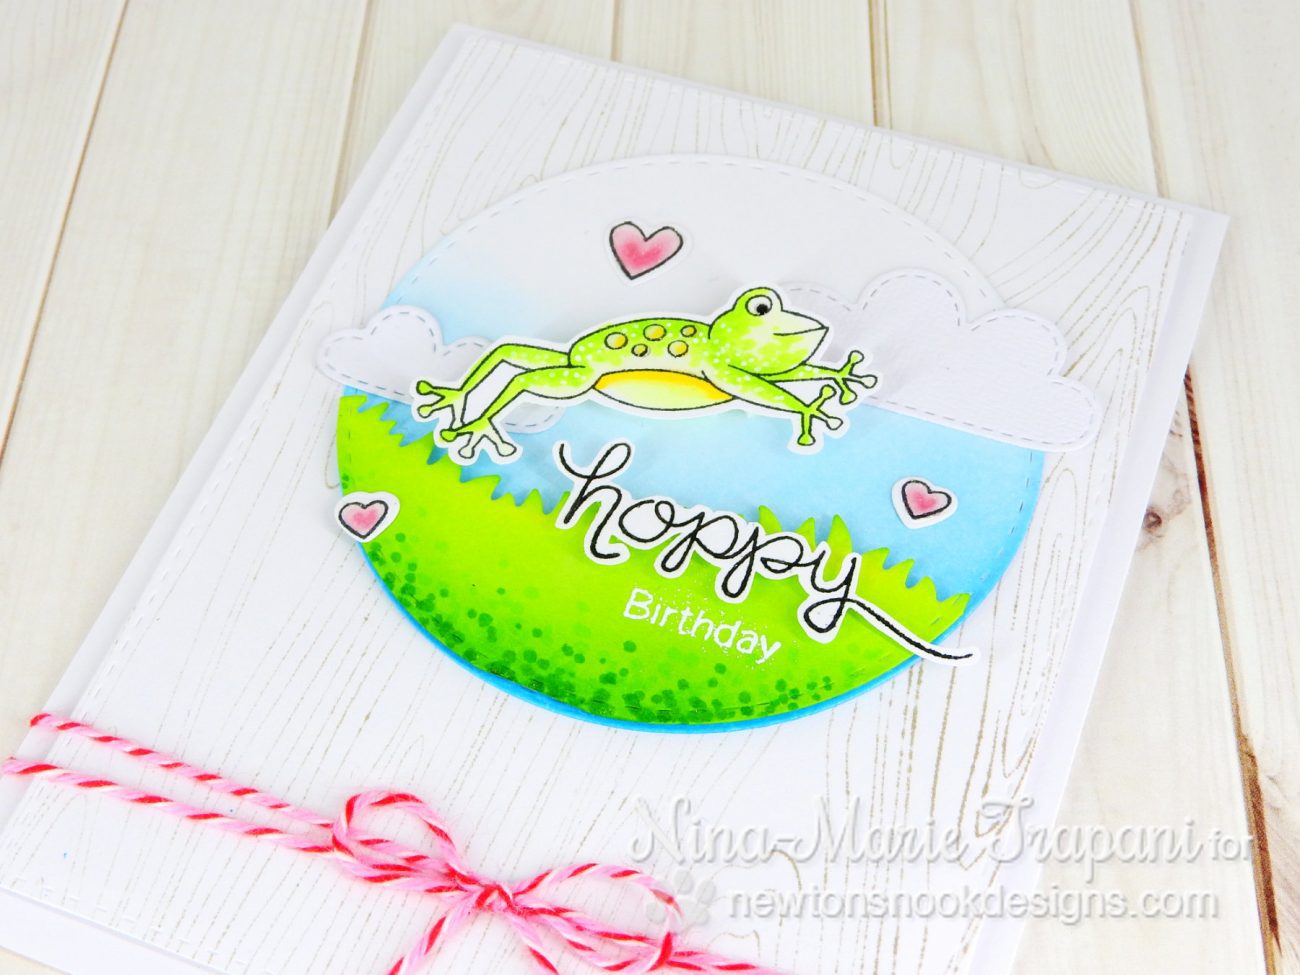
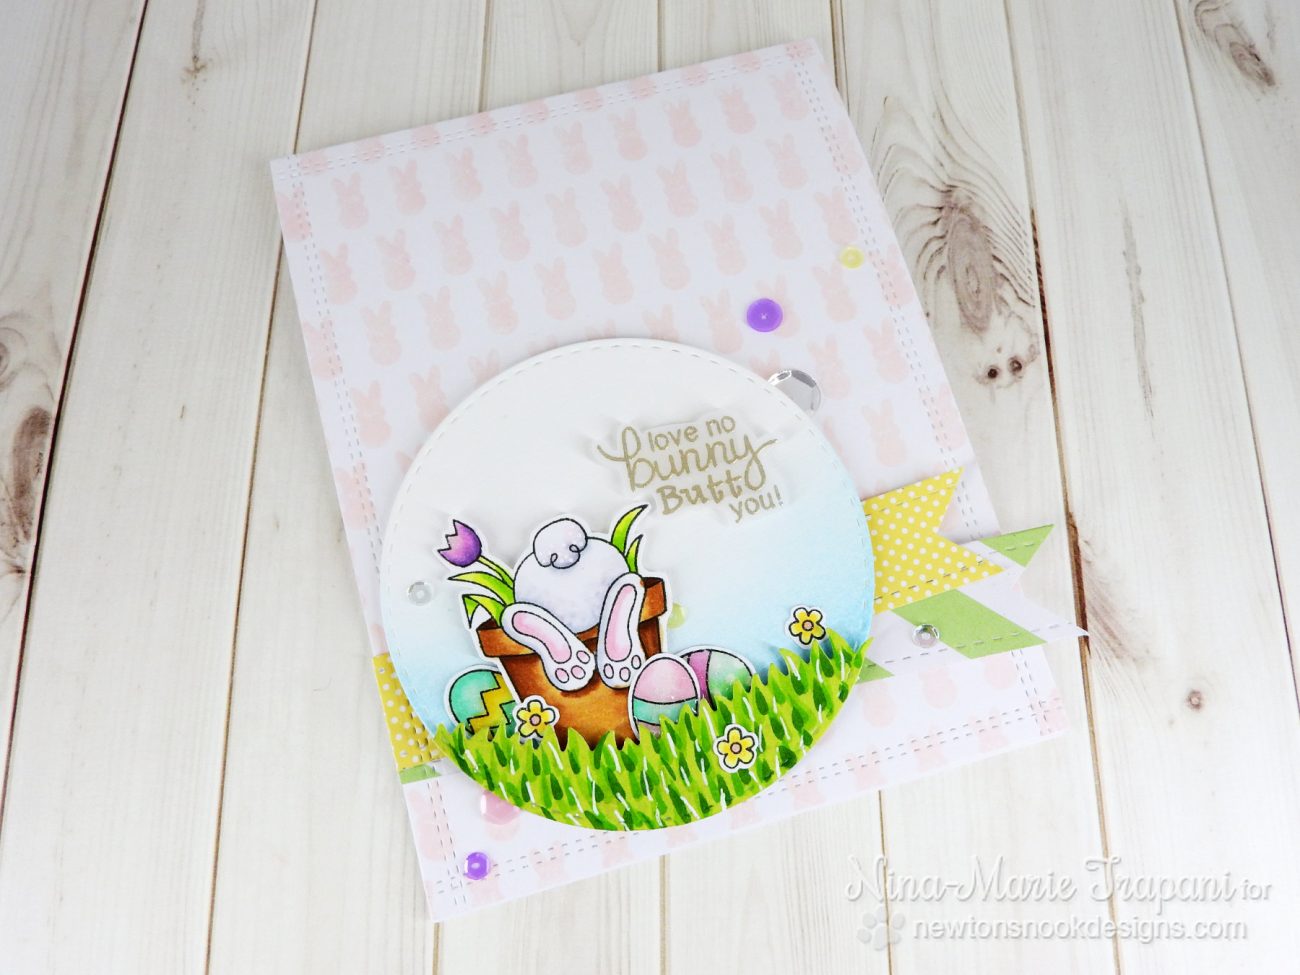
If you’ve already been hopping along with us, you should have arrived from the amazing Heather Hoffman! Be sure to read all the way to the bottom of this post to find out the next stop along the hop. This is also my second post for today, so if you are looking for my Newton’s Nook Reveal Day #2 post, please visit this link HERE.
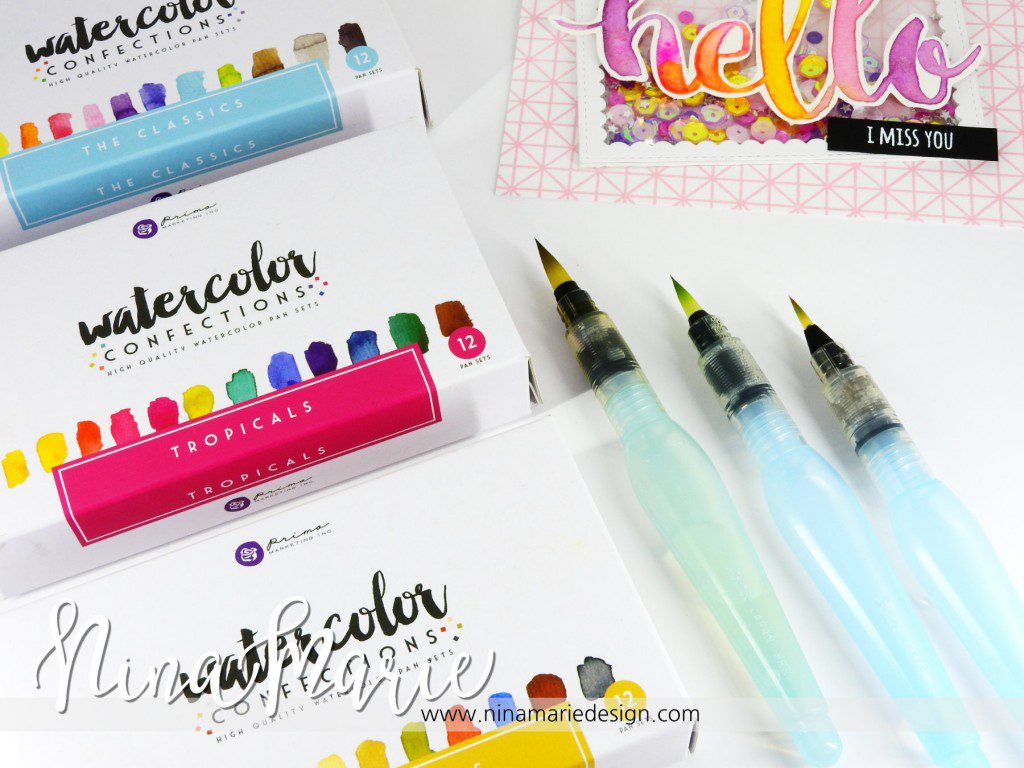
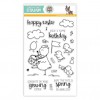
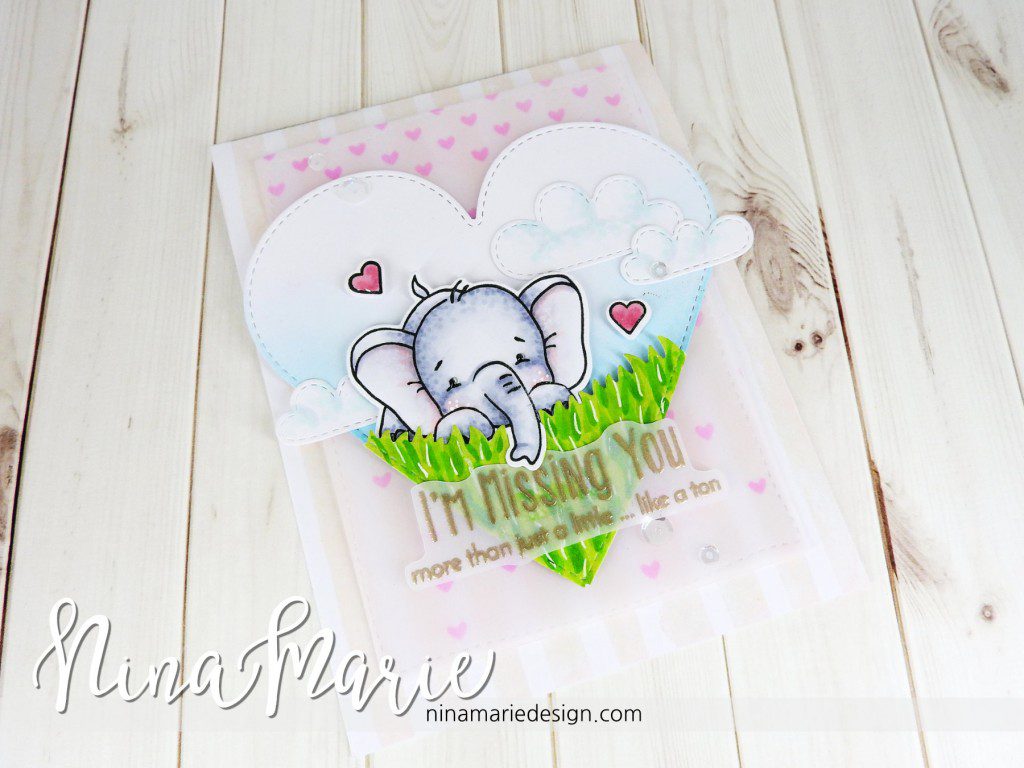
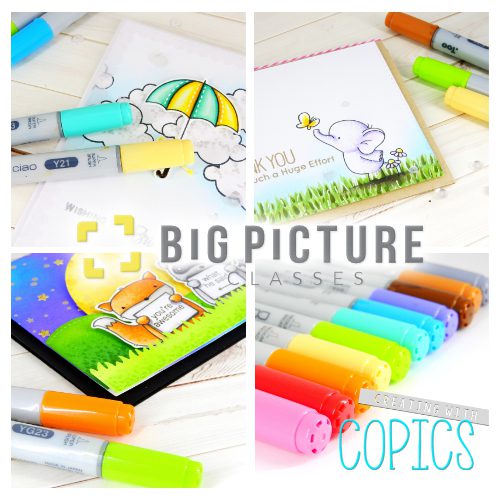
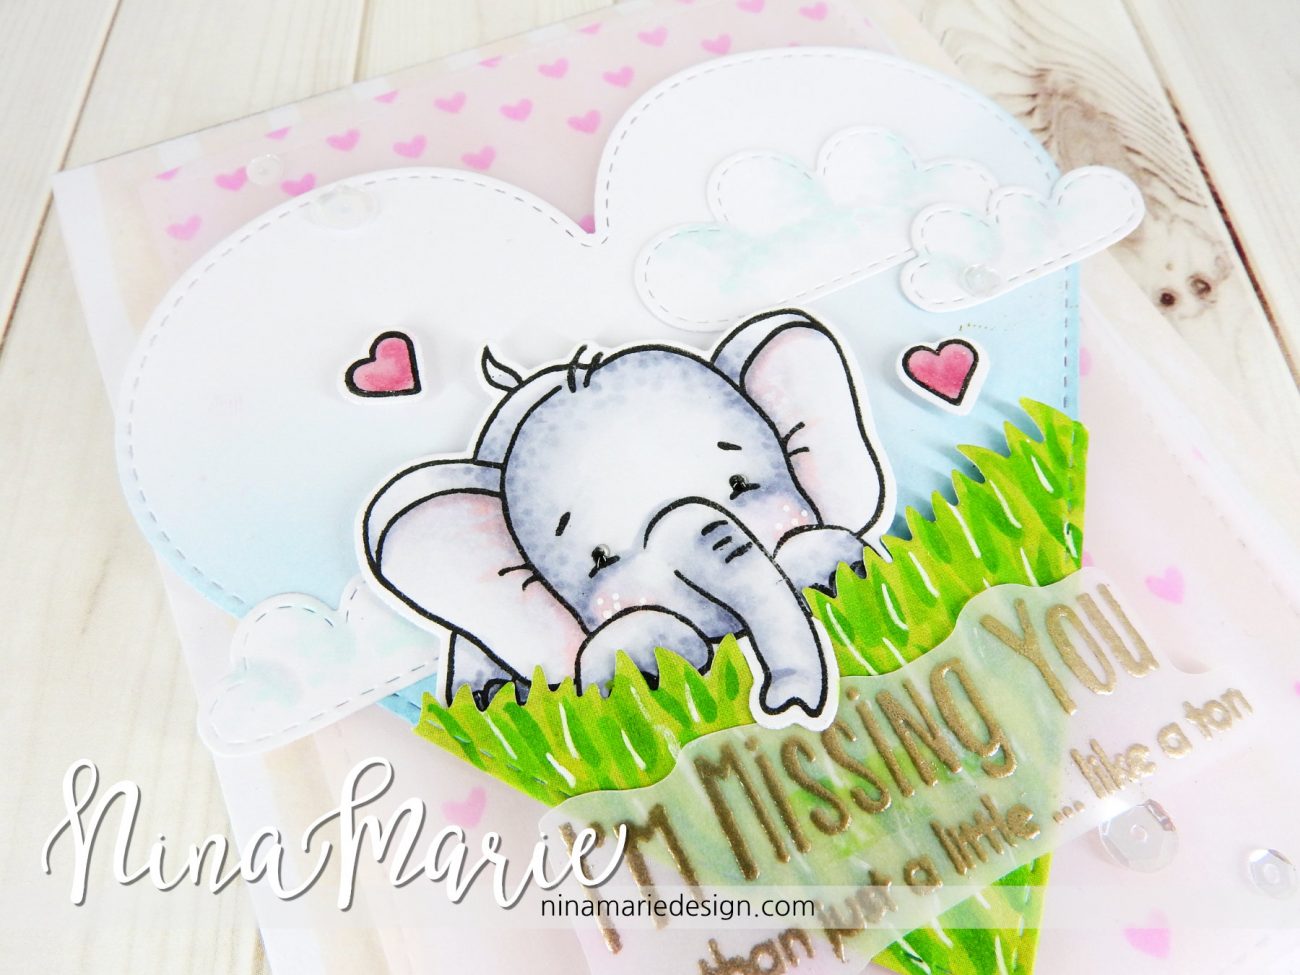
The Pretty Pink Posh January release has just recently come out and I’ve used a few of the new products in my card for today, as well as some previously released products. I’ve also used some new stamps and dies from My Favorite Things… including the adorable little elephants!
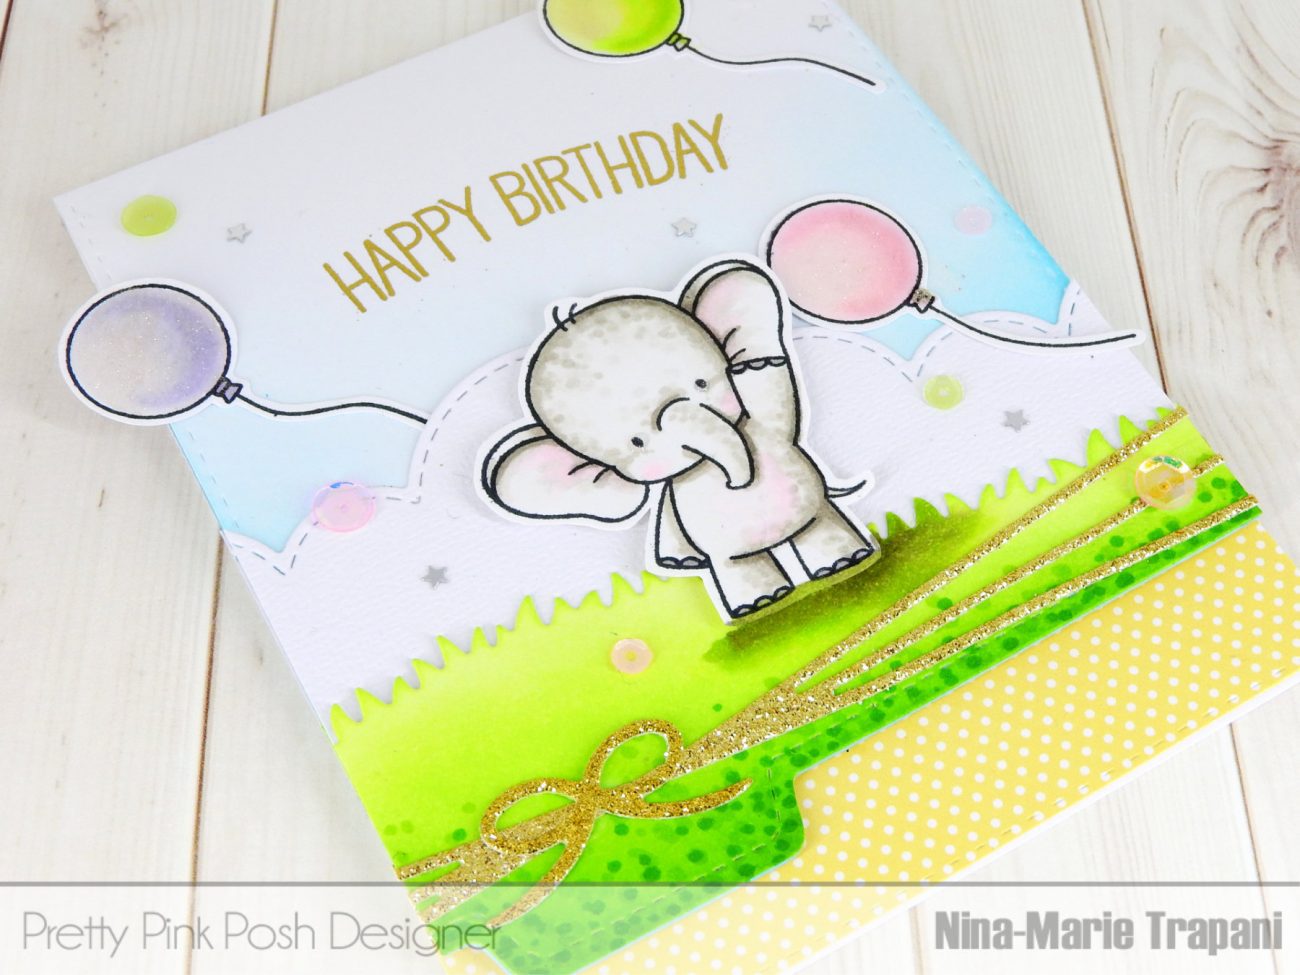
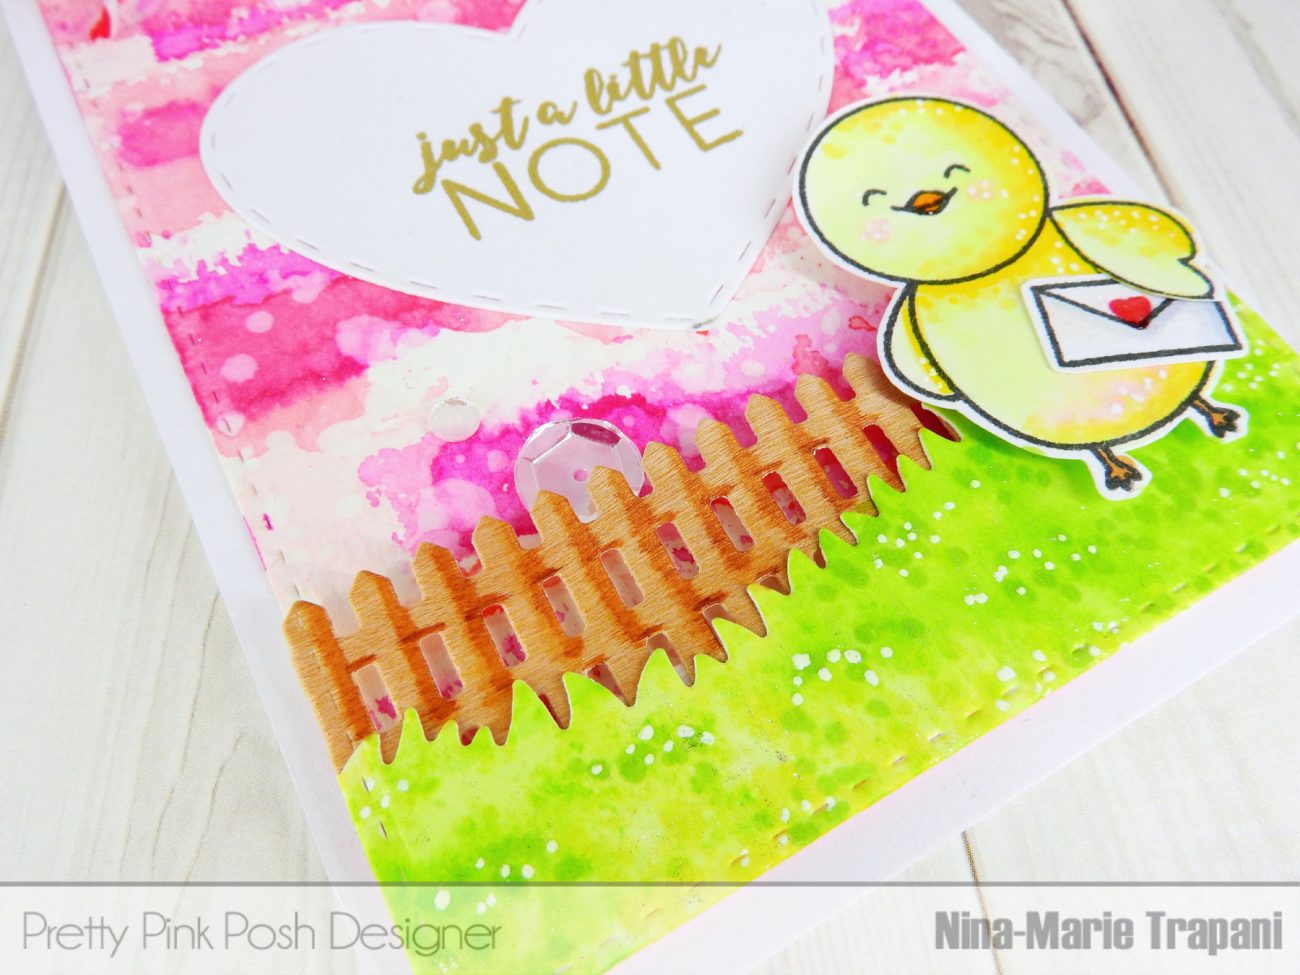
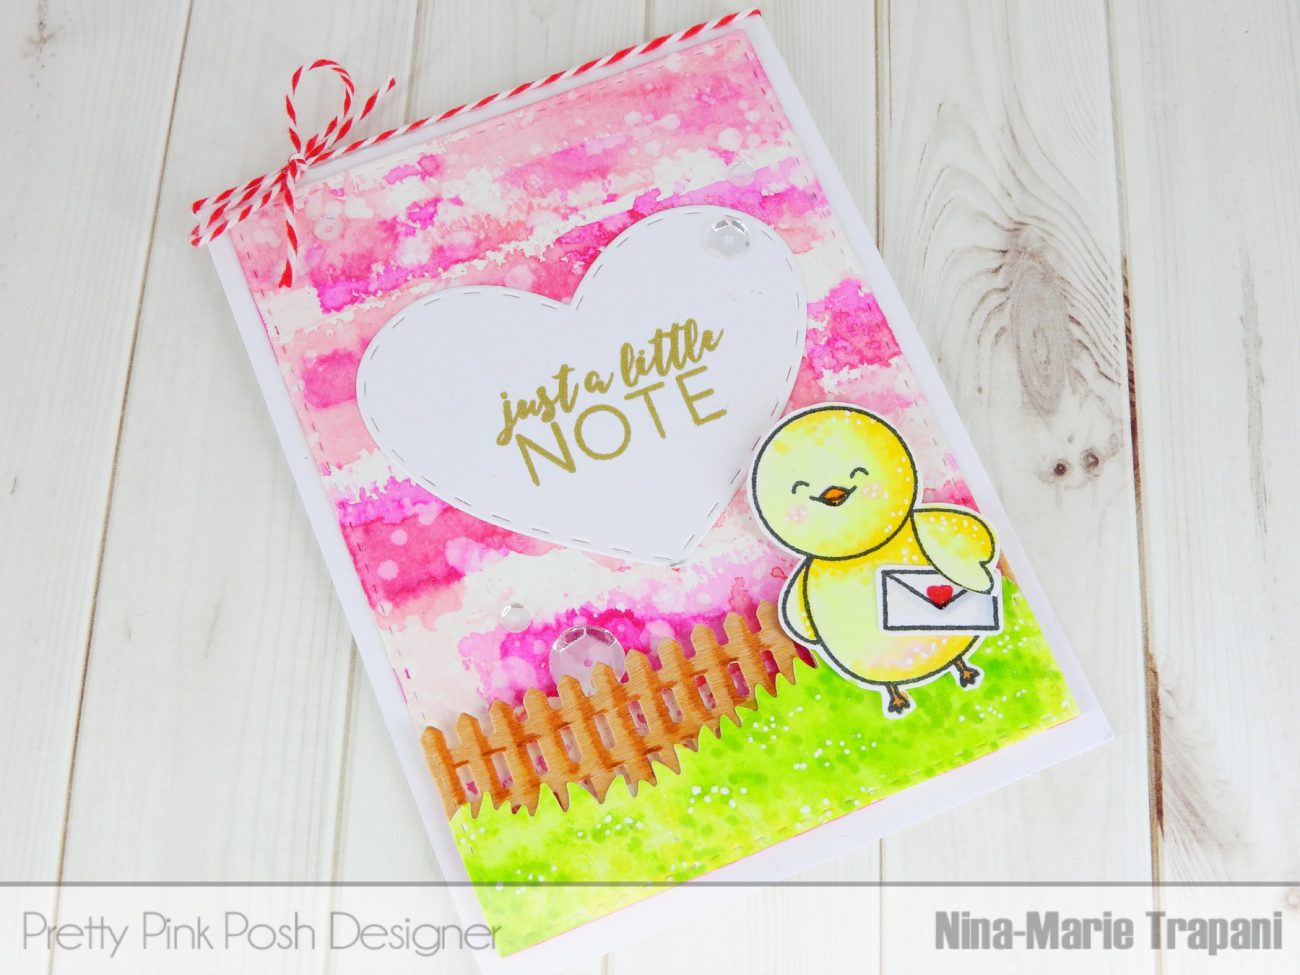
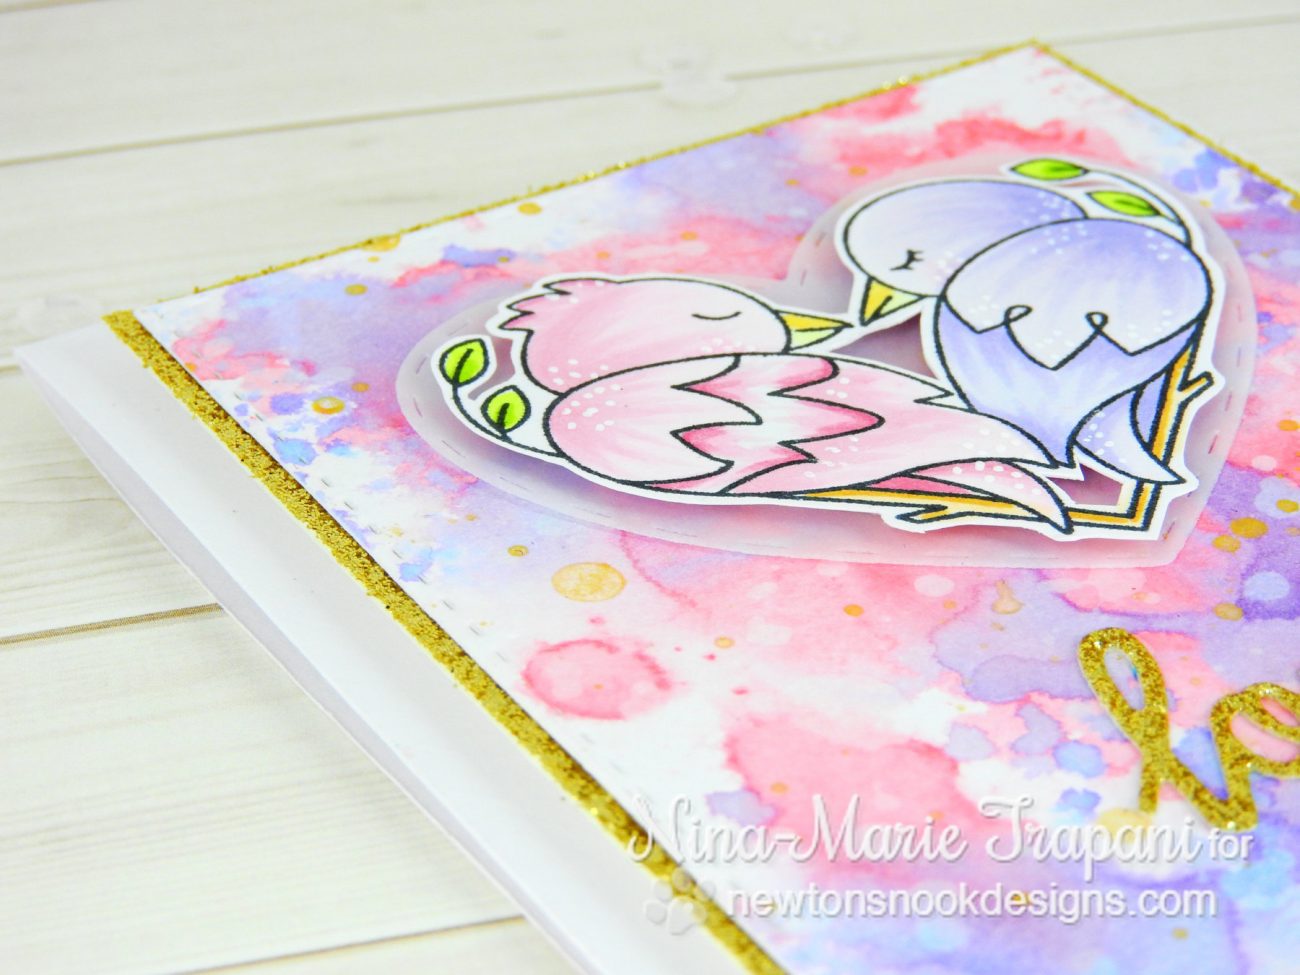
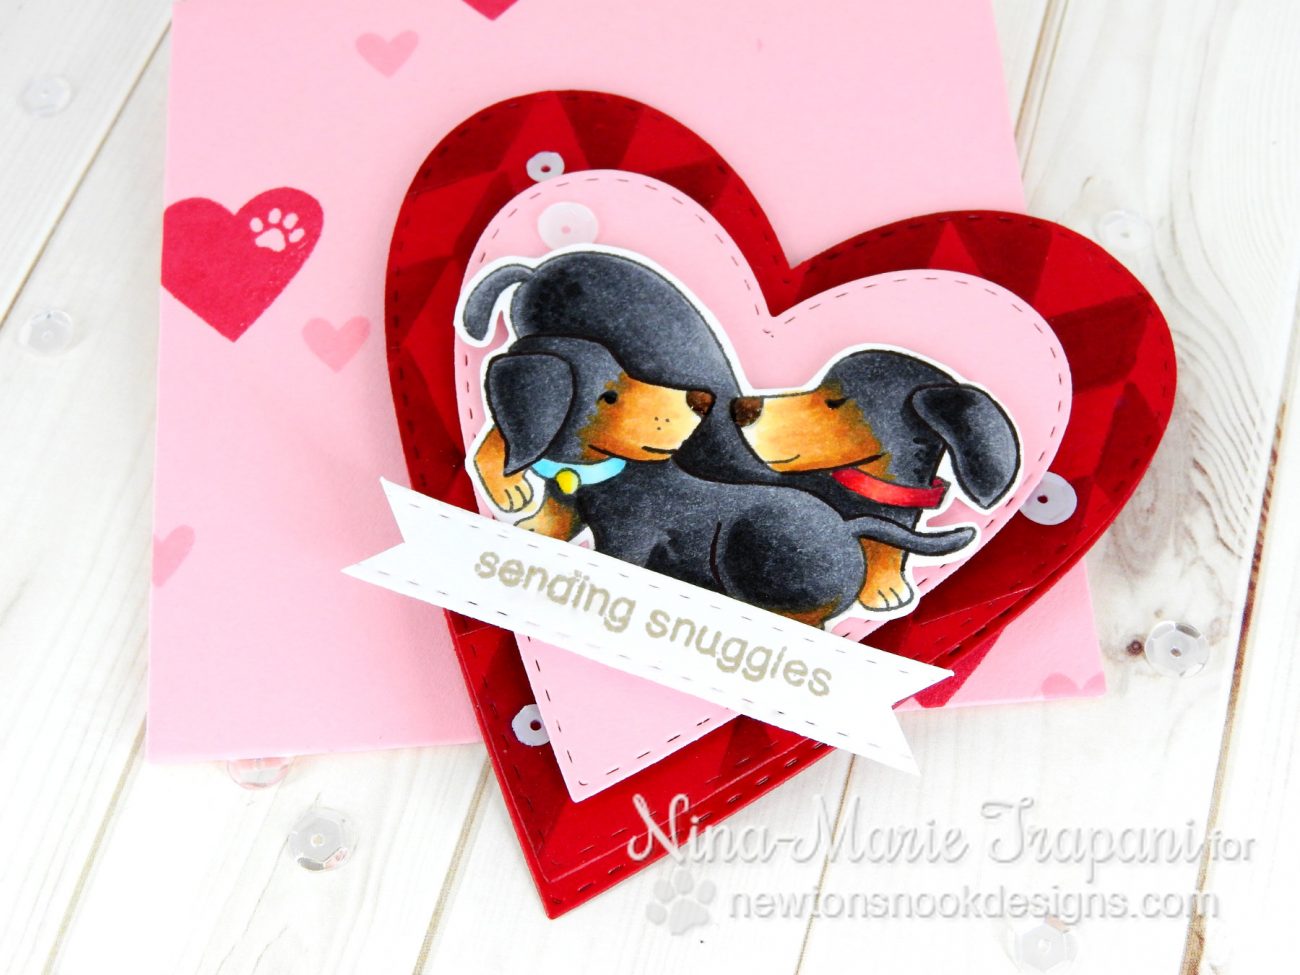
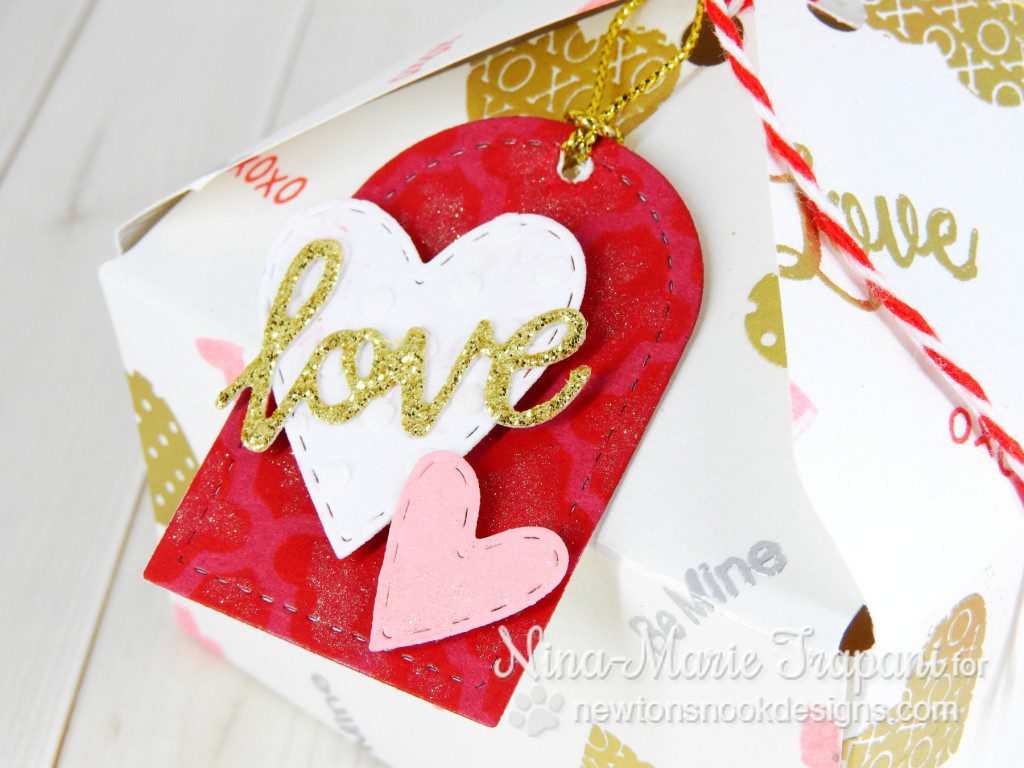
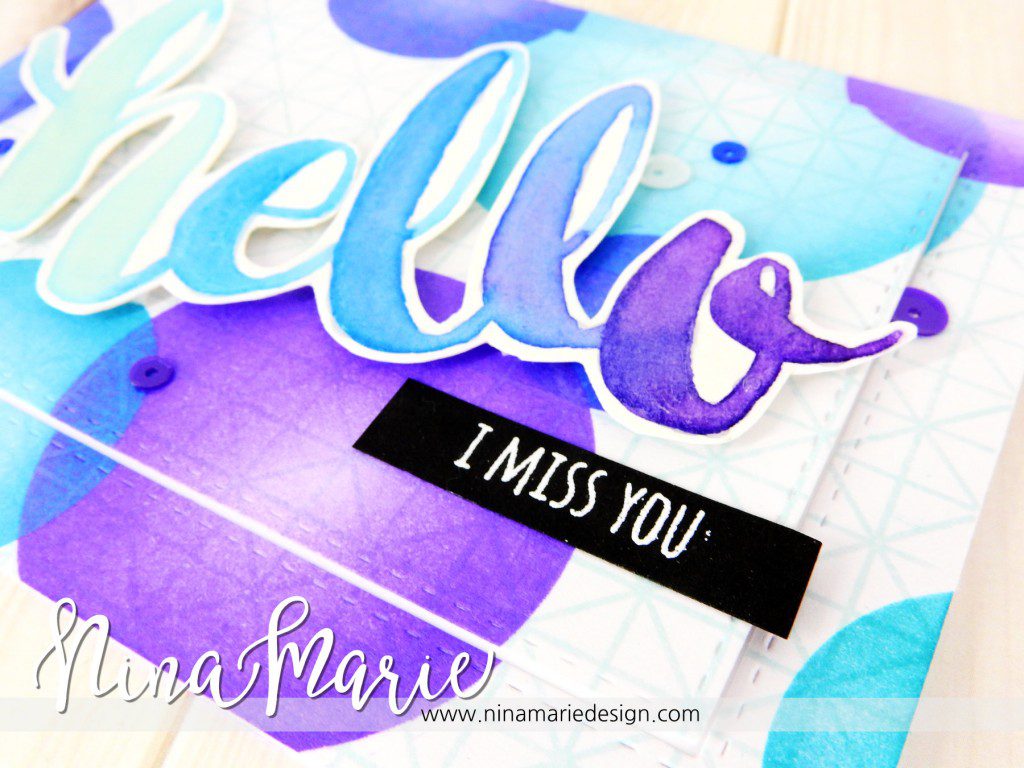
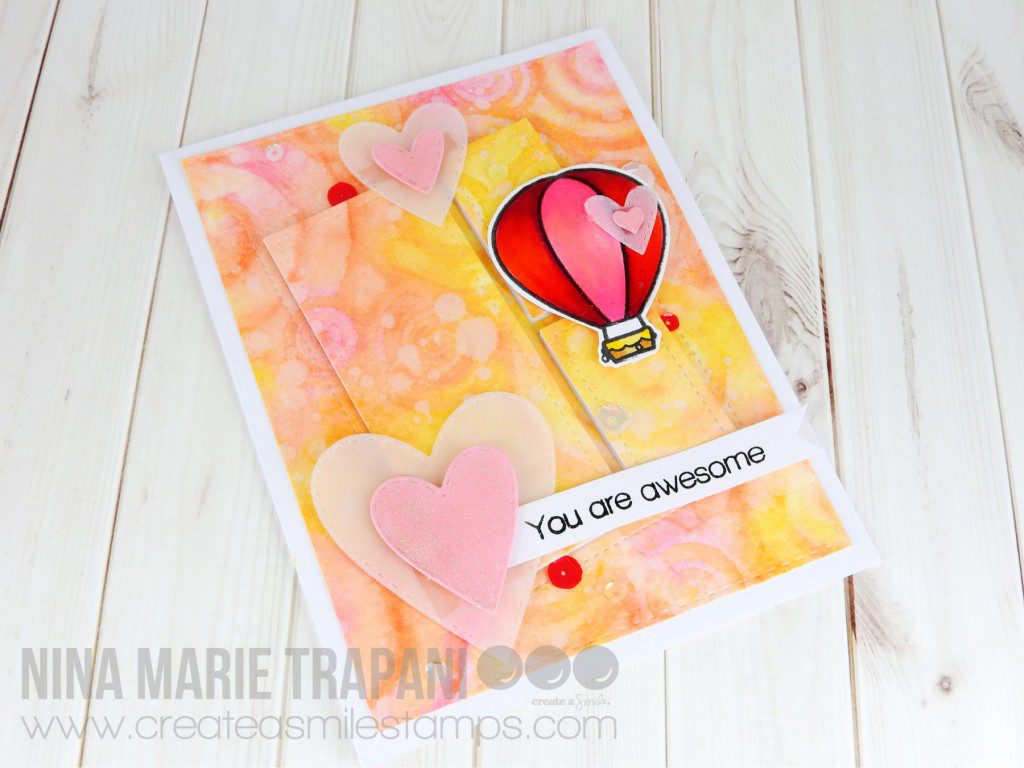
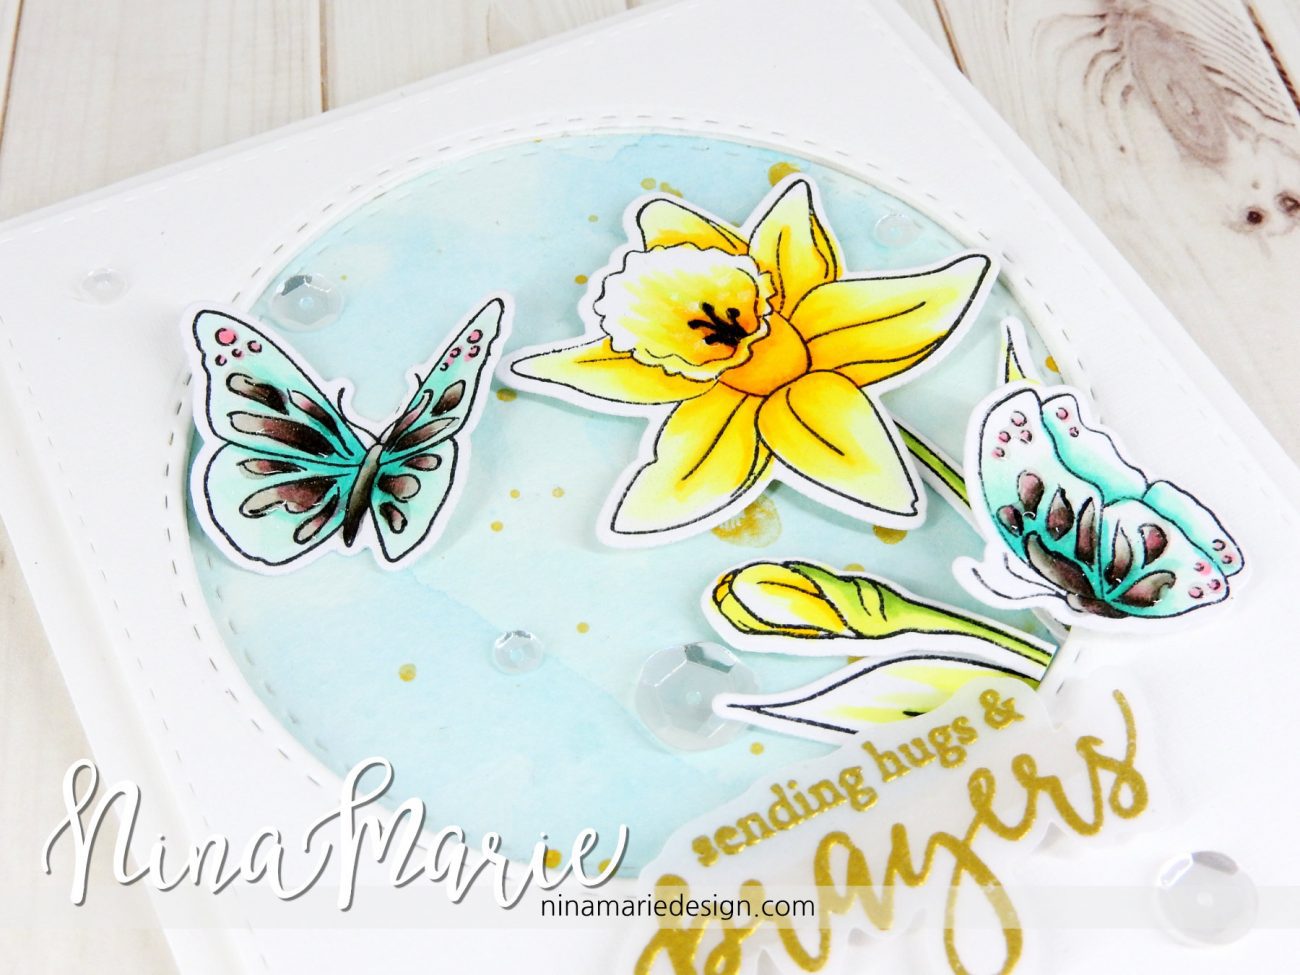
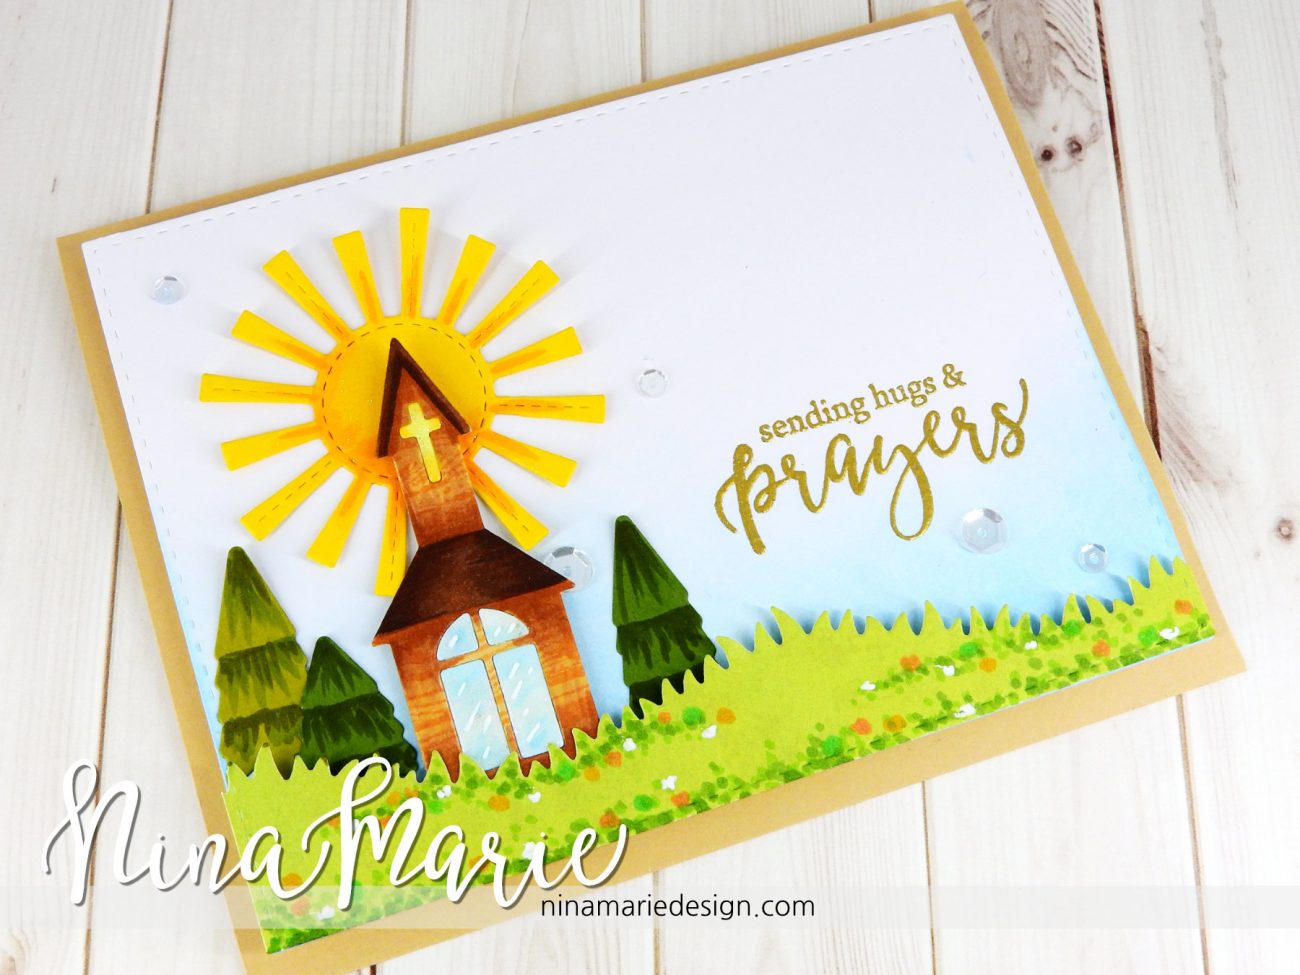
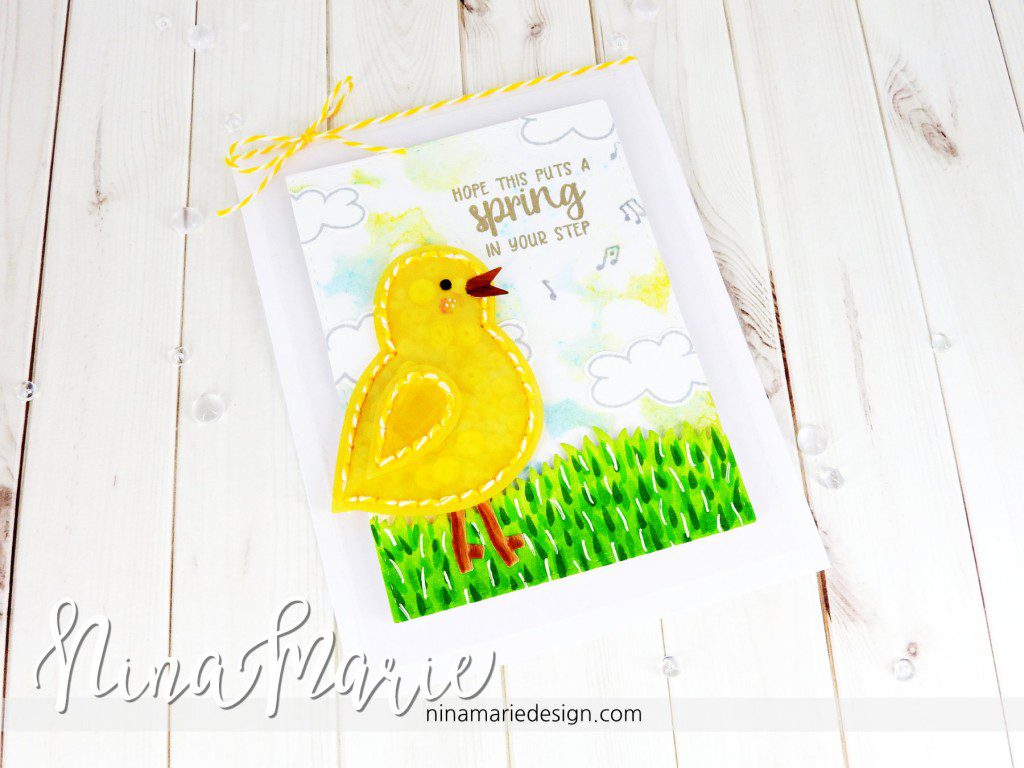
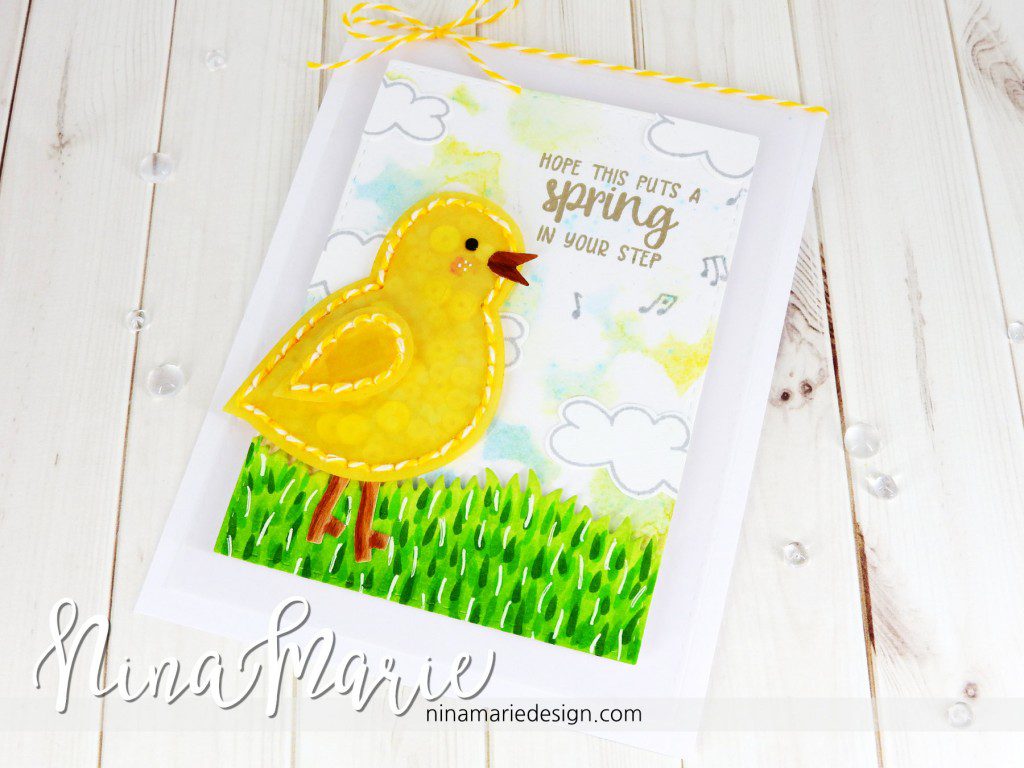
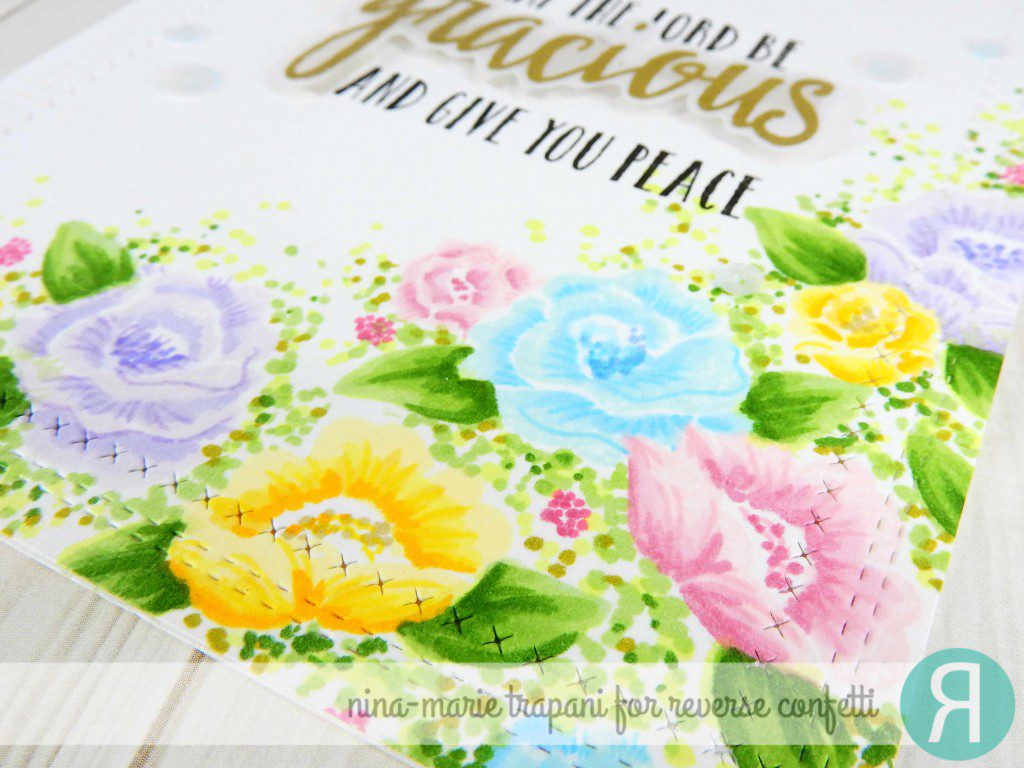
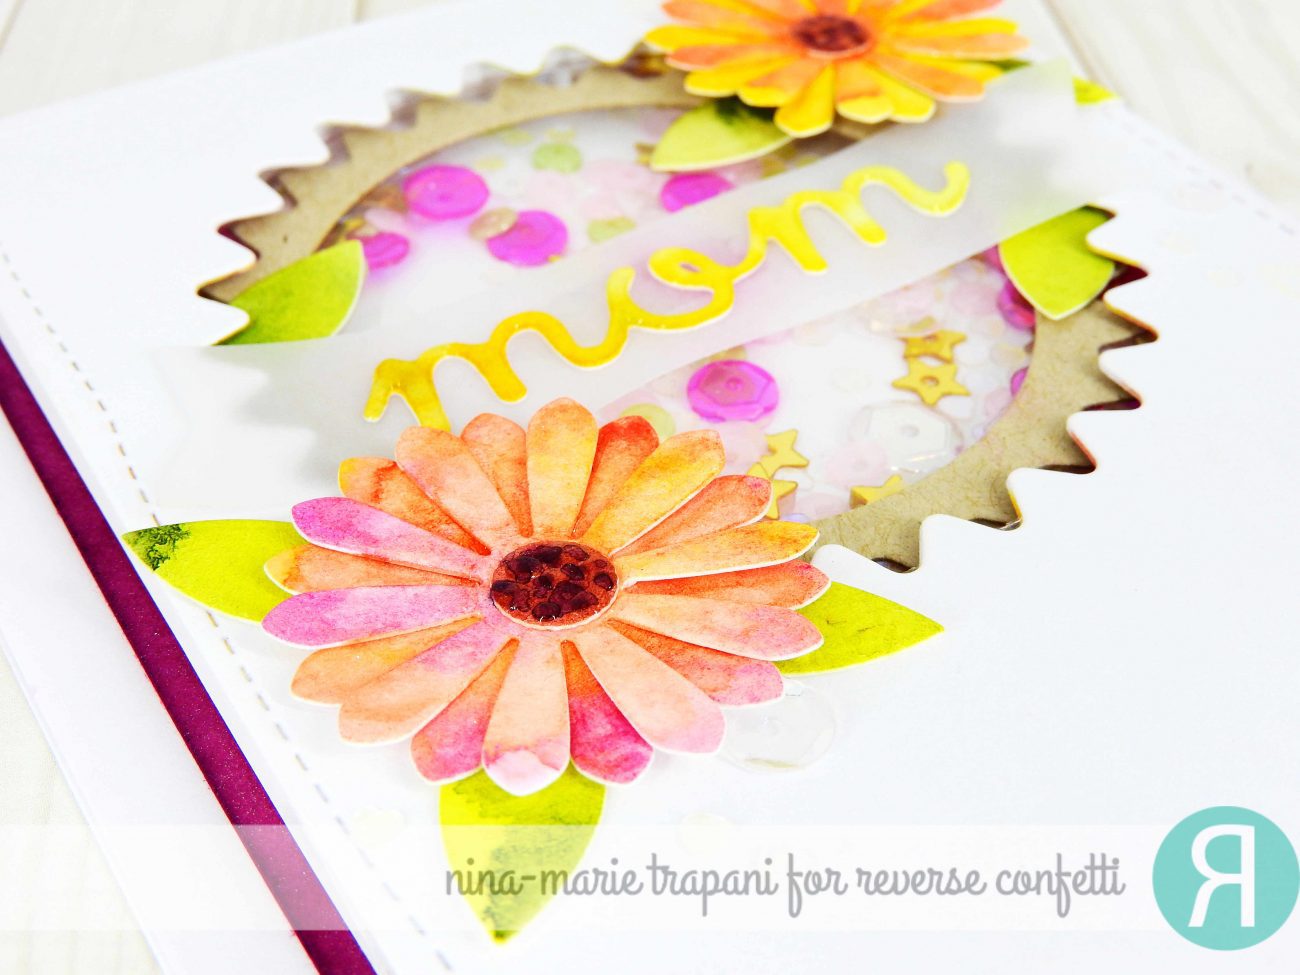
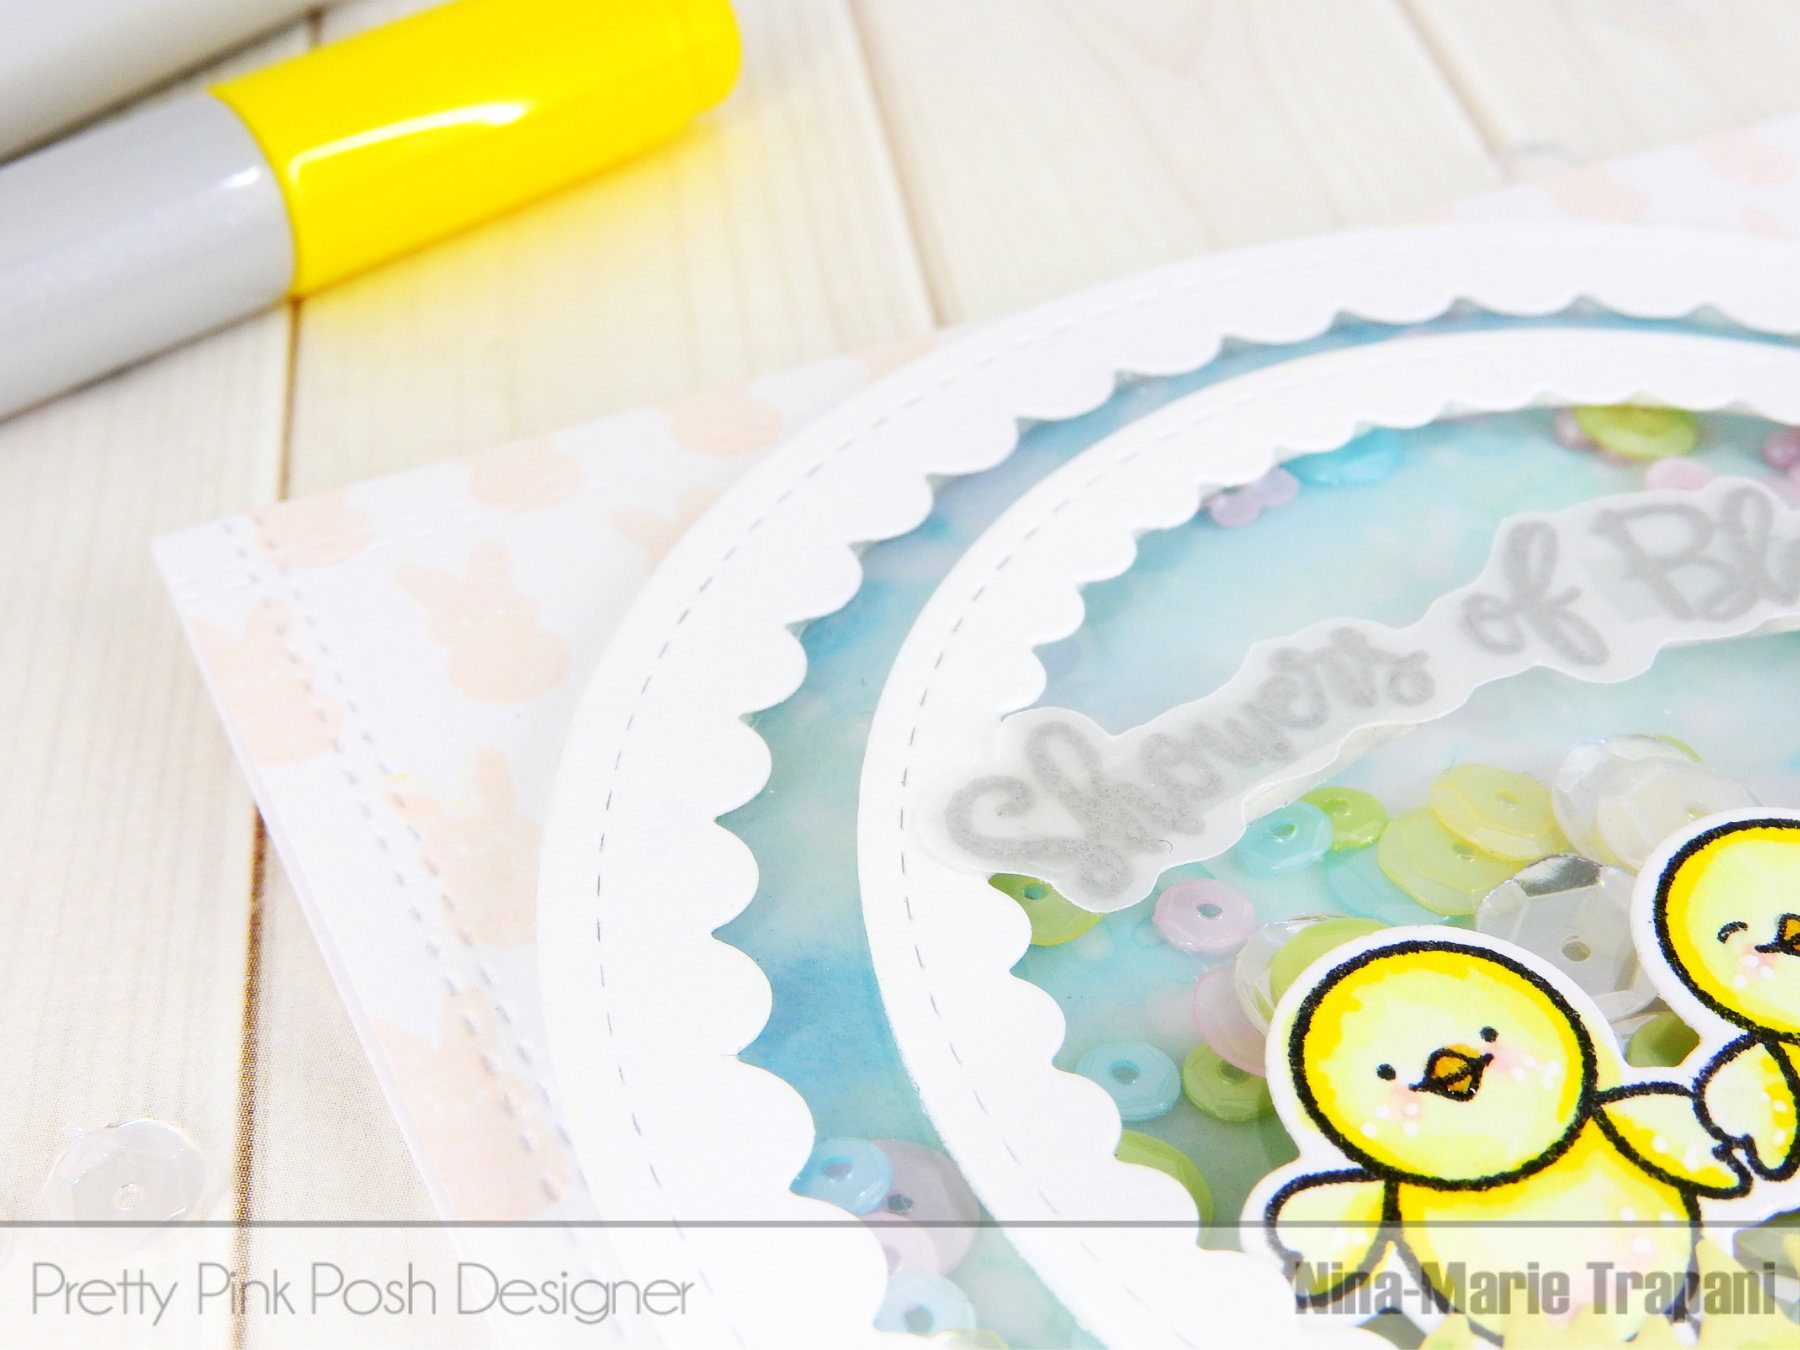
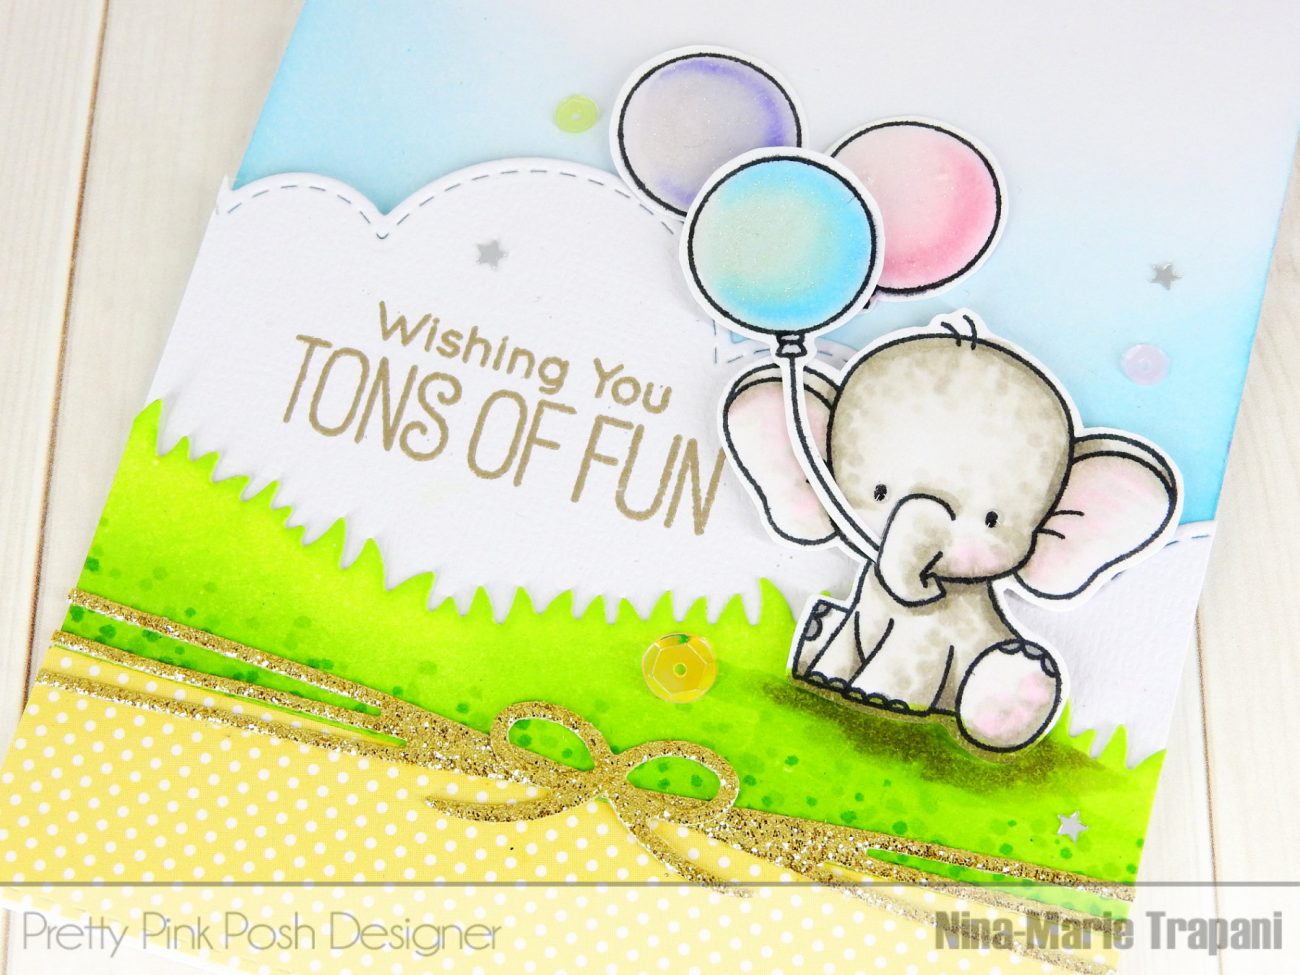
I love coming up with fun ways to use my supplies and when I saw the new Stitched Tabs die set (from Pretty Pink Posh), I immediately had the idea of creating a fun “surprise flap” on my card, which would reveal something special underneath!

This card may look complicated, but in reality it was really simple to make! The flap is a panel that is adhered onto my A2 card base… easy, right? I have a video showing how I created this card, which you can either watch below, or over on my YouTube channel.
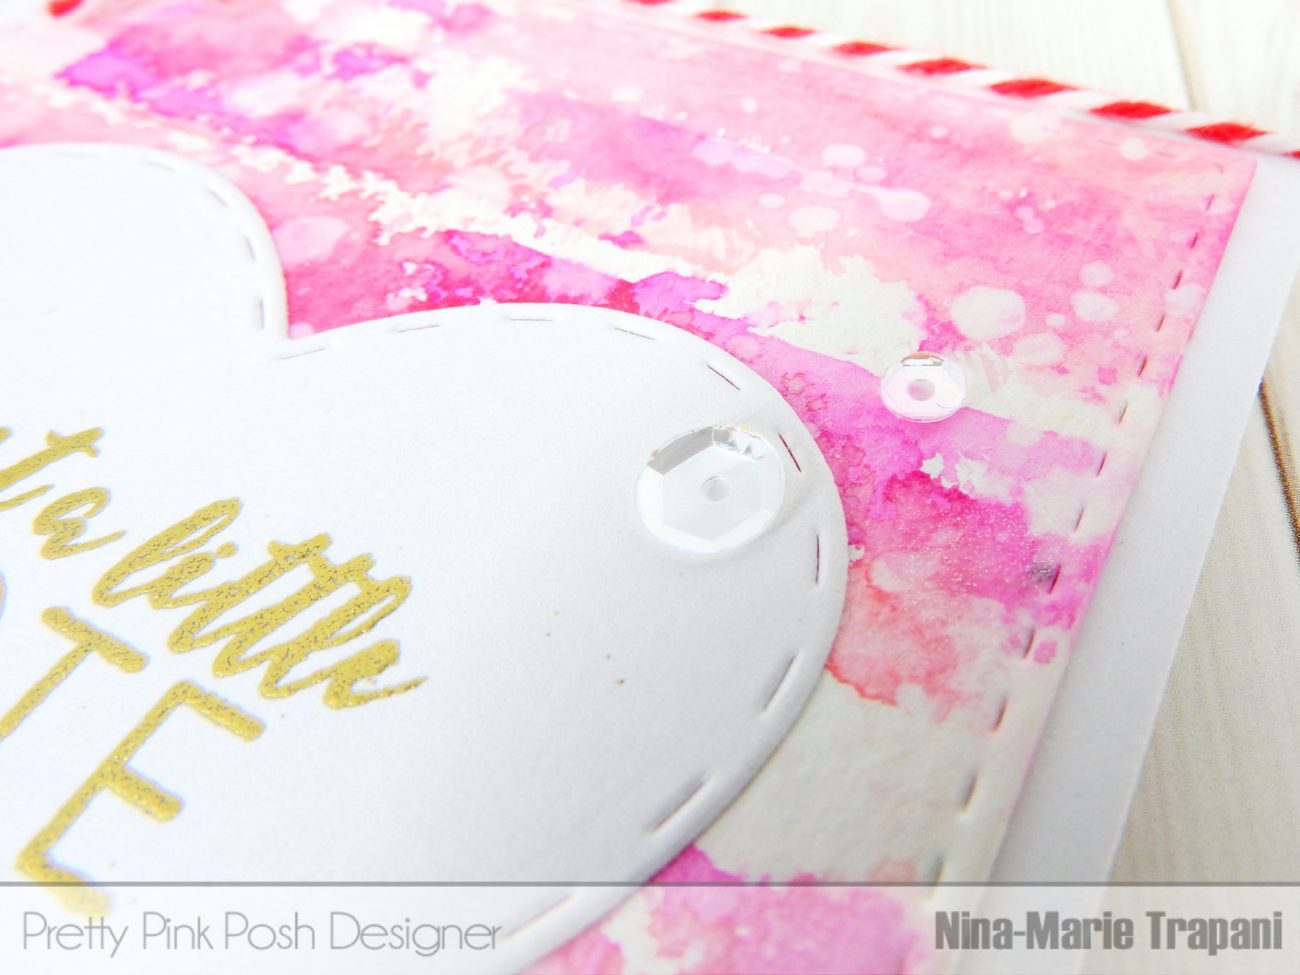
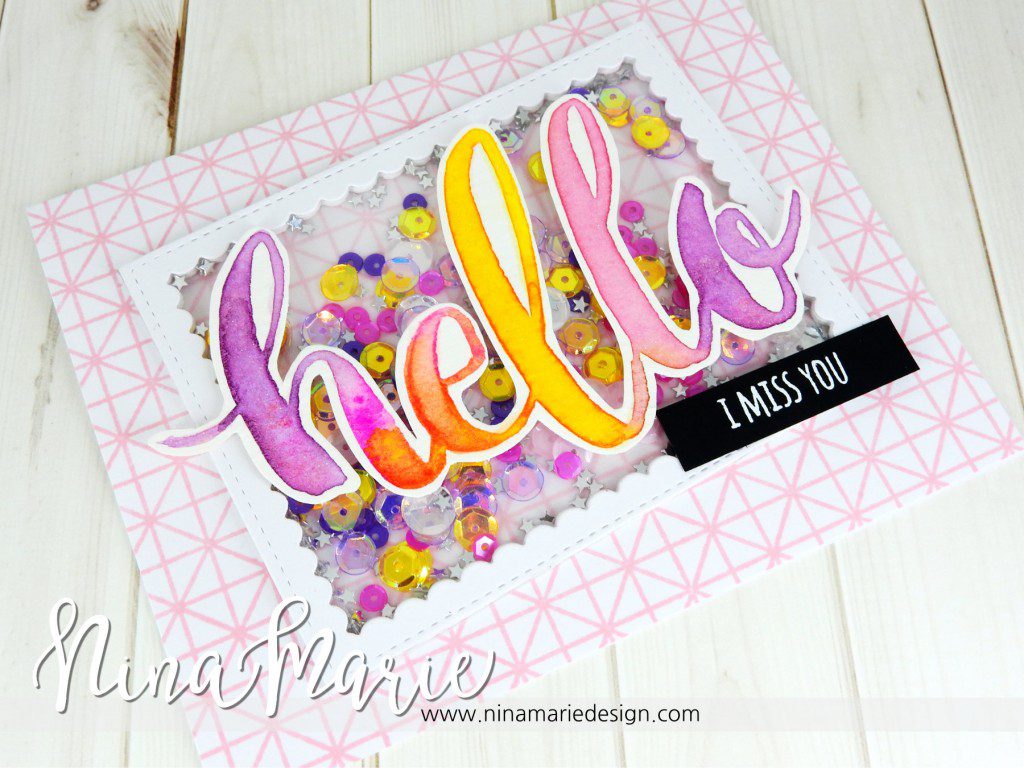
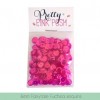
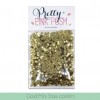
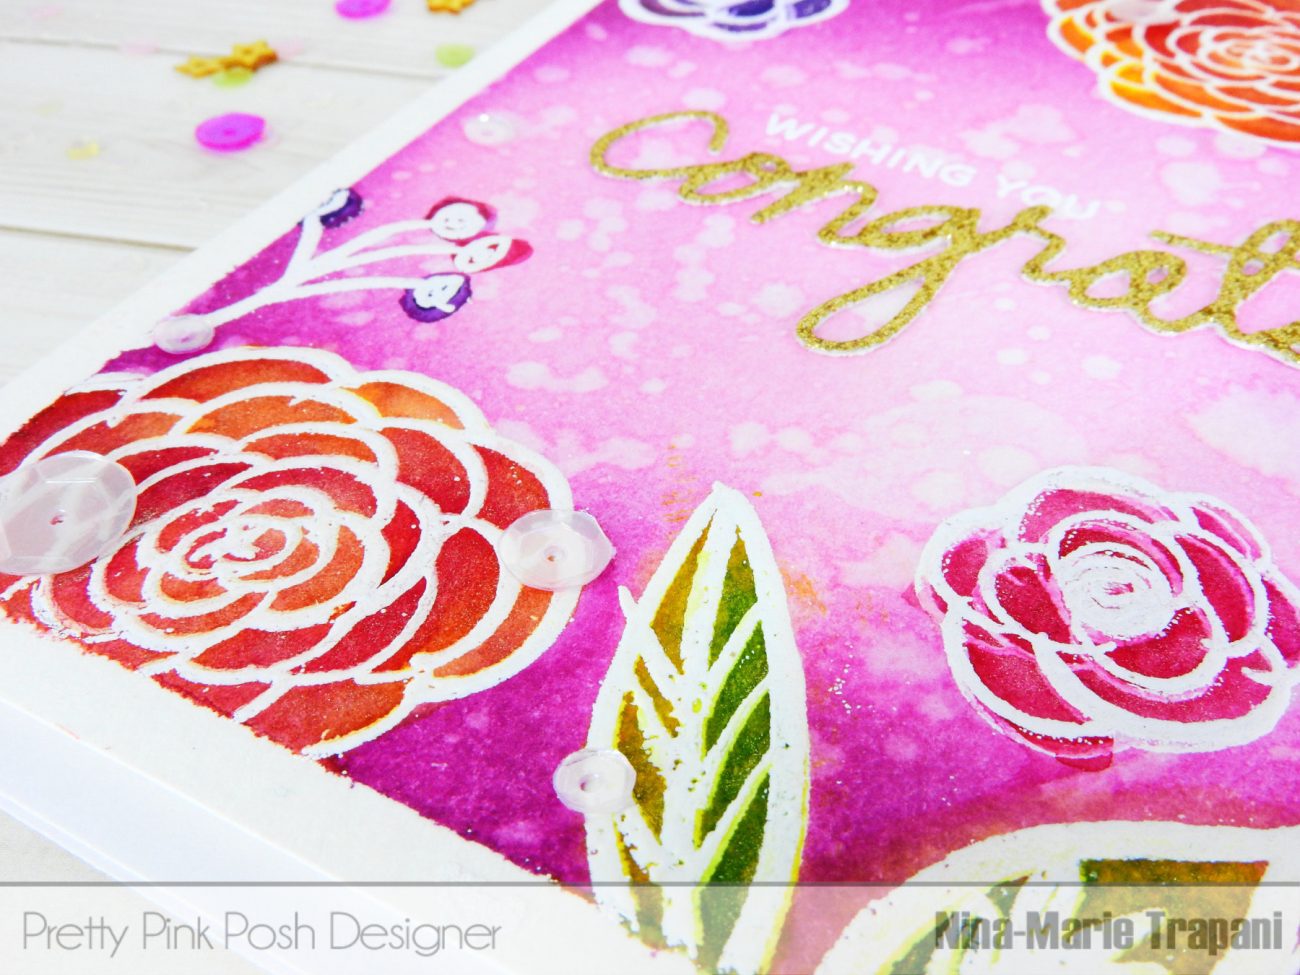
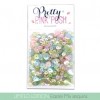
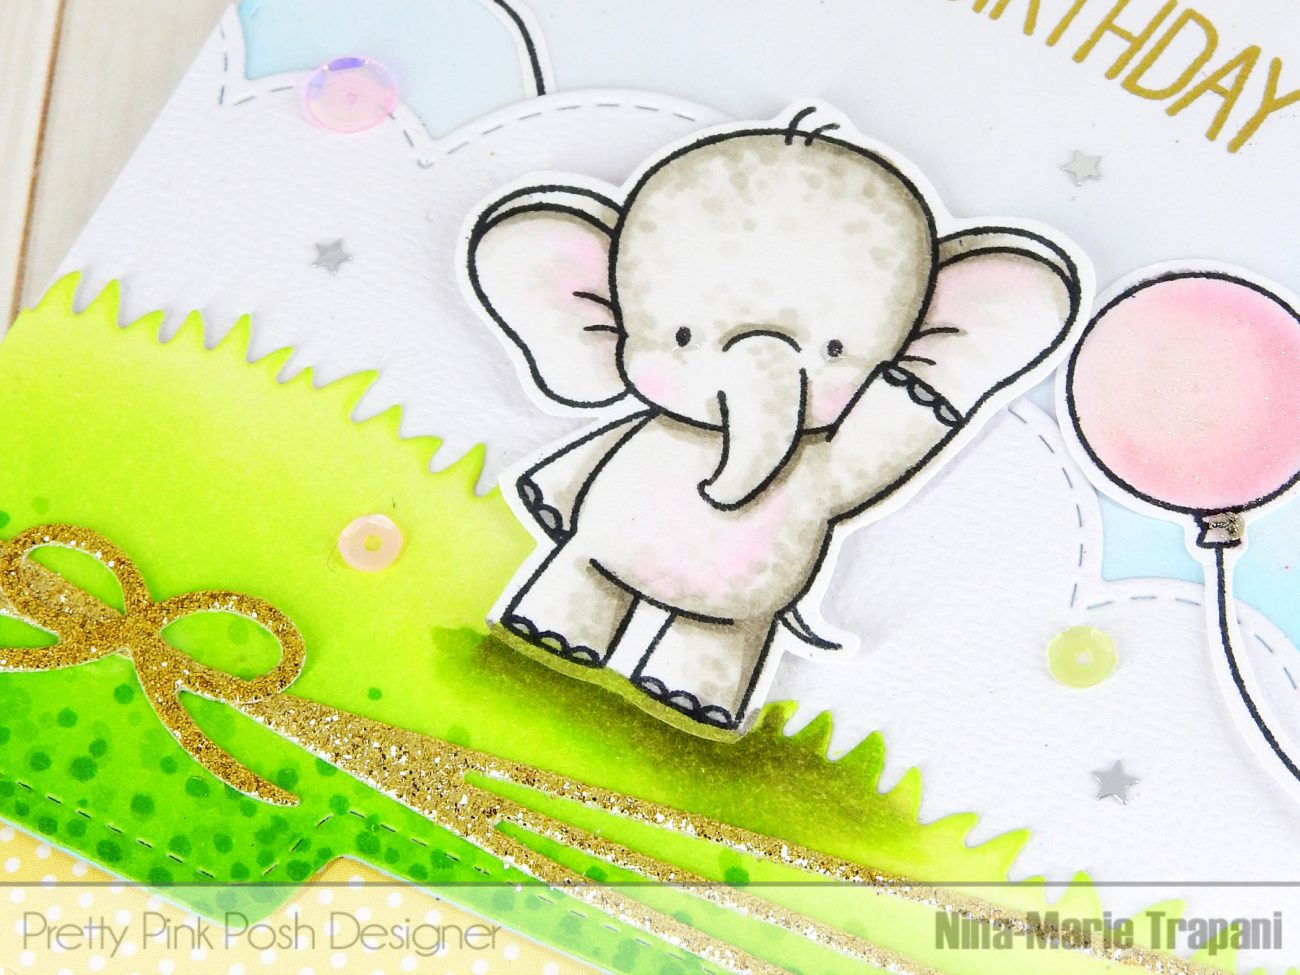
The sequins and confetti mixes I used for this card are also brand new products for Pretty Pink Posh; they are the Sweet Pea mix and Mini Silver Stars confetti… love the two together!
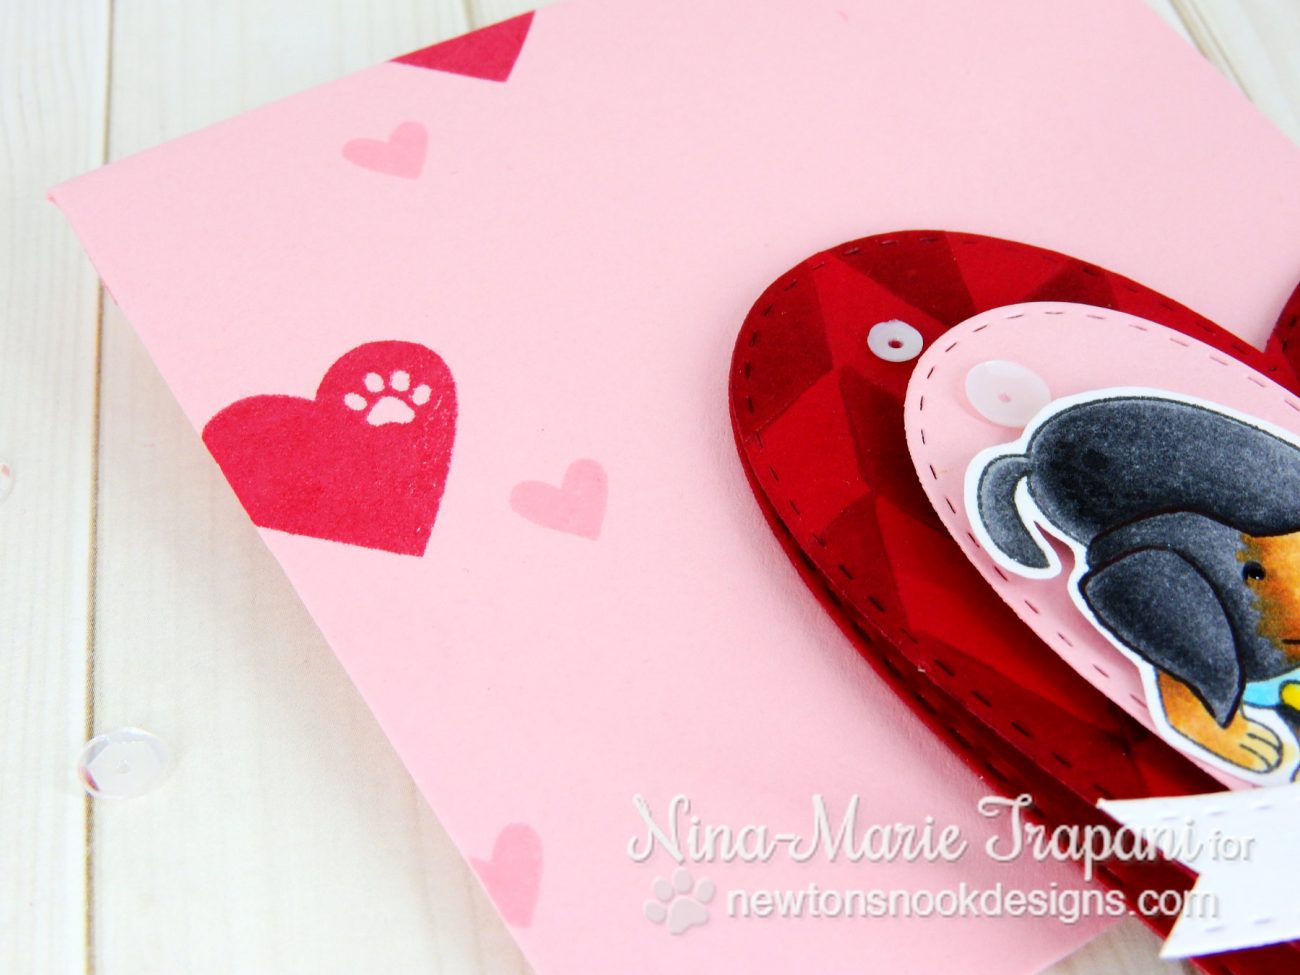
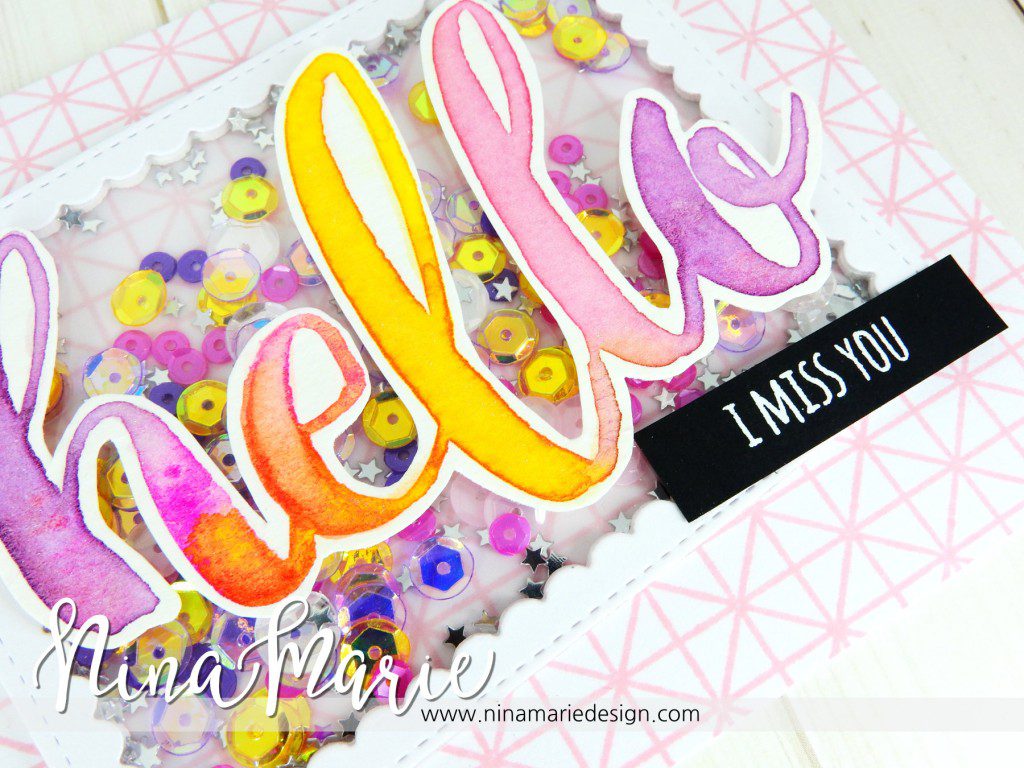
A couple of tips when making your flap for the card; I made both scenes completely before adhering the surprise flap to my card base. This helps make things a lot easier when doing all your stamping, ink blending, etc.
Also, I made sure that when I was cutting the surprise flap, that I accounted for an extra 1/2″ to be used as the piece that folds over my card base to hold everything together. Keeping this in mind will help make sure you end up with a perfectly sized flap in the end.
MORE INSPIRATION, HOPPING & GIVEAWAYS
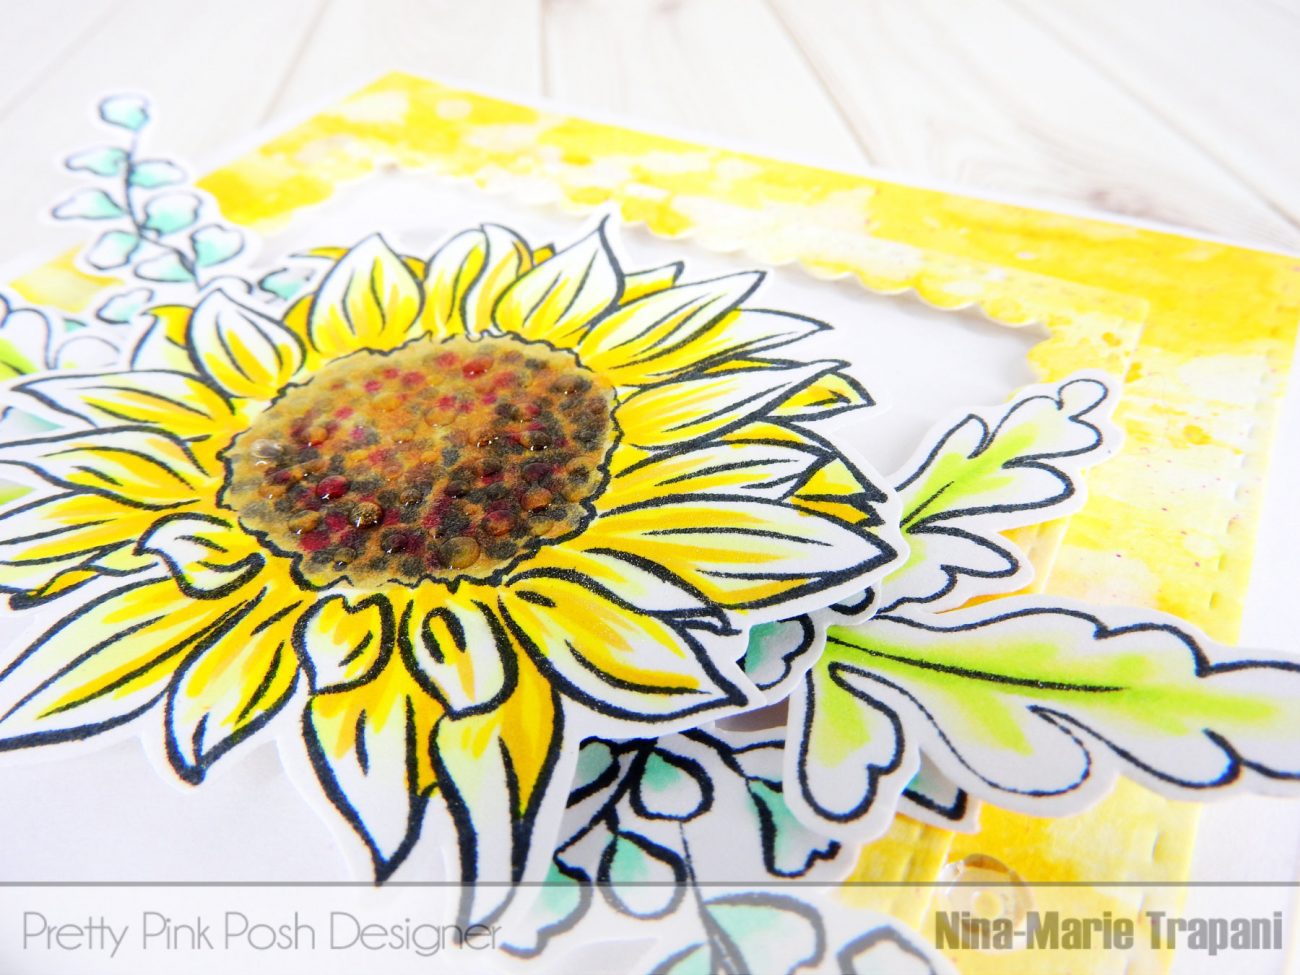
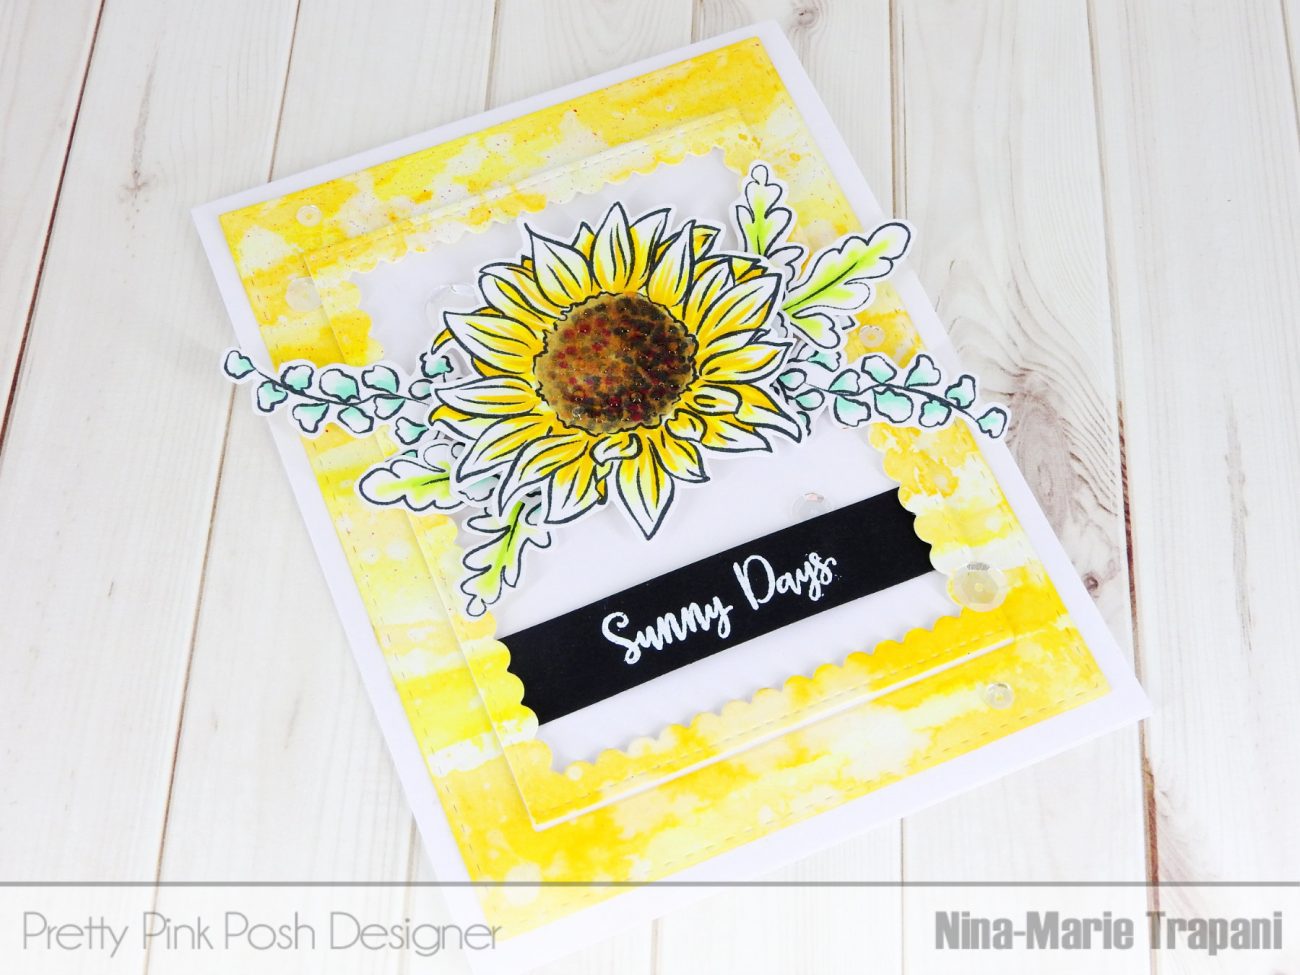
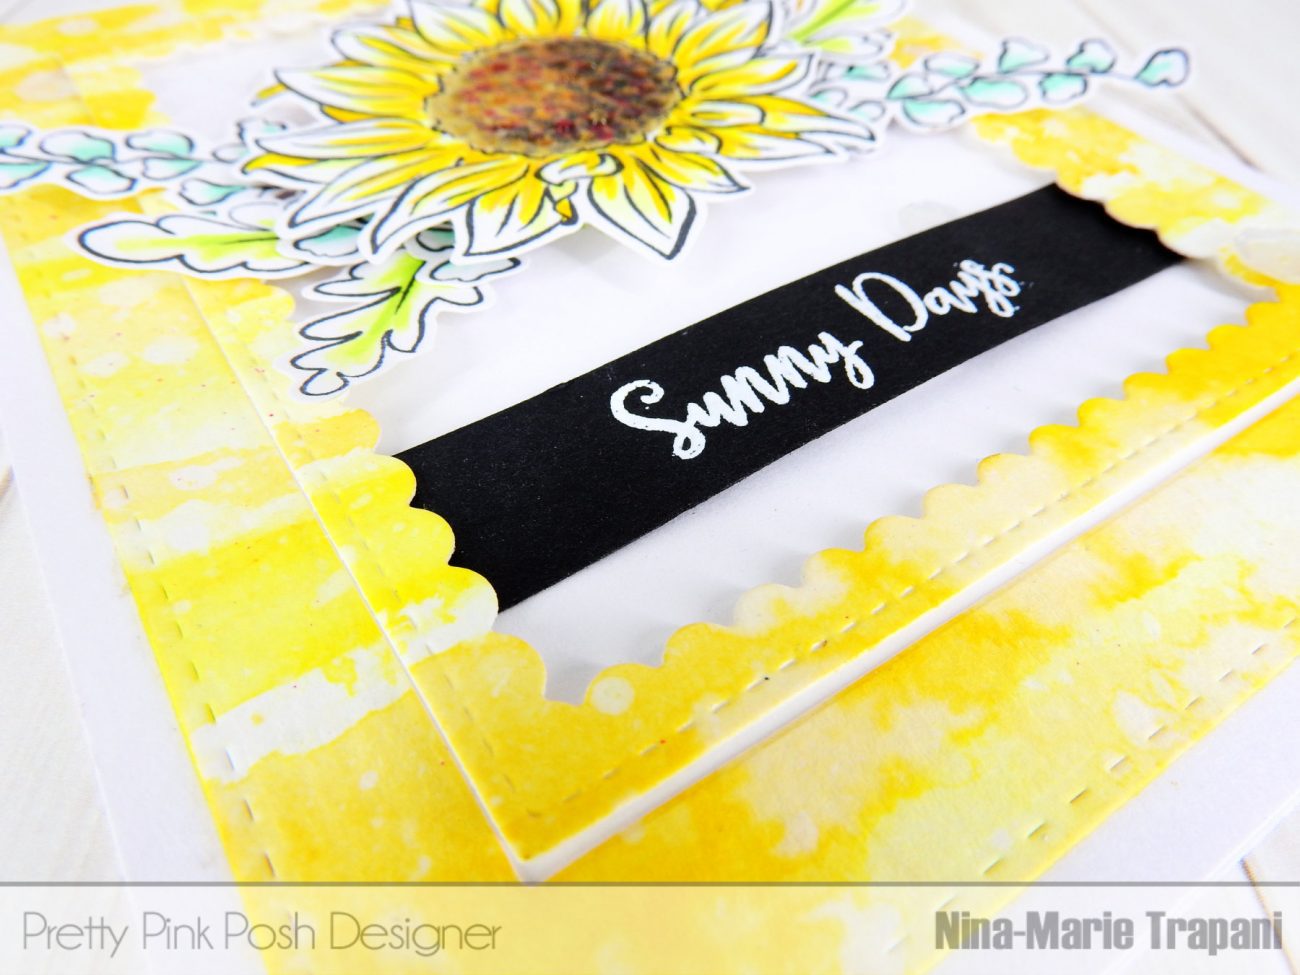
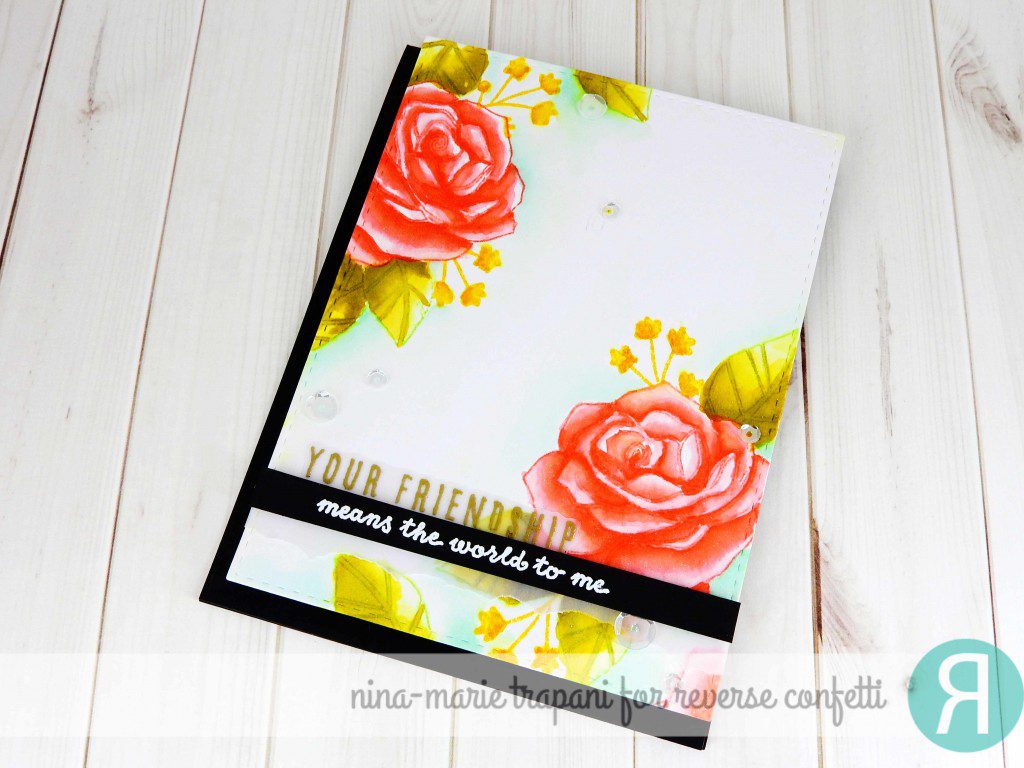
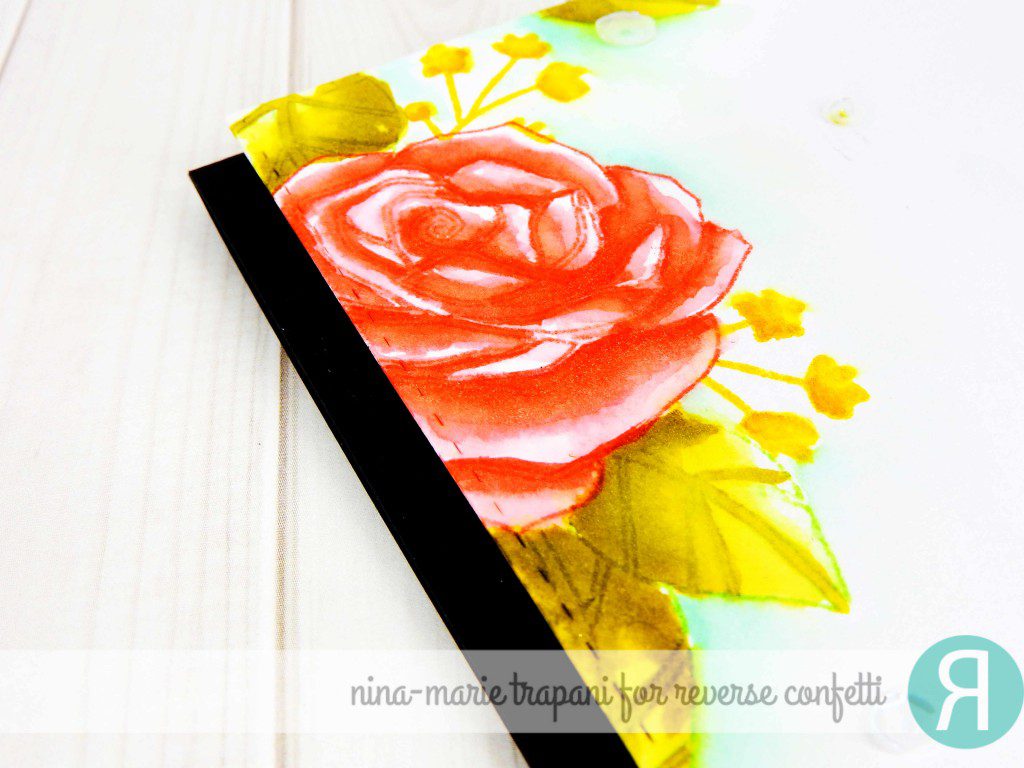
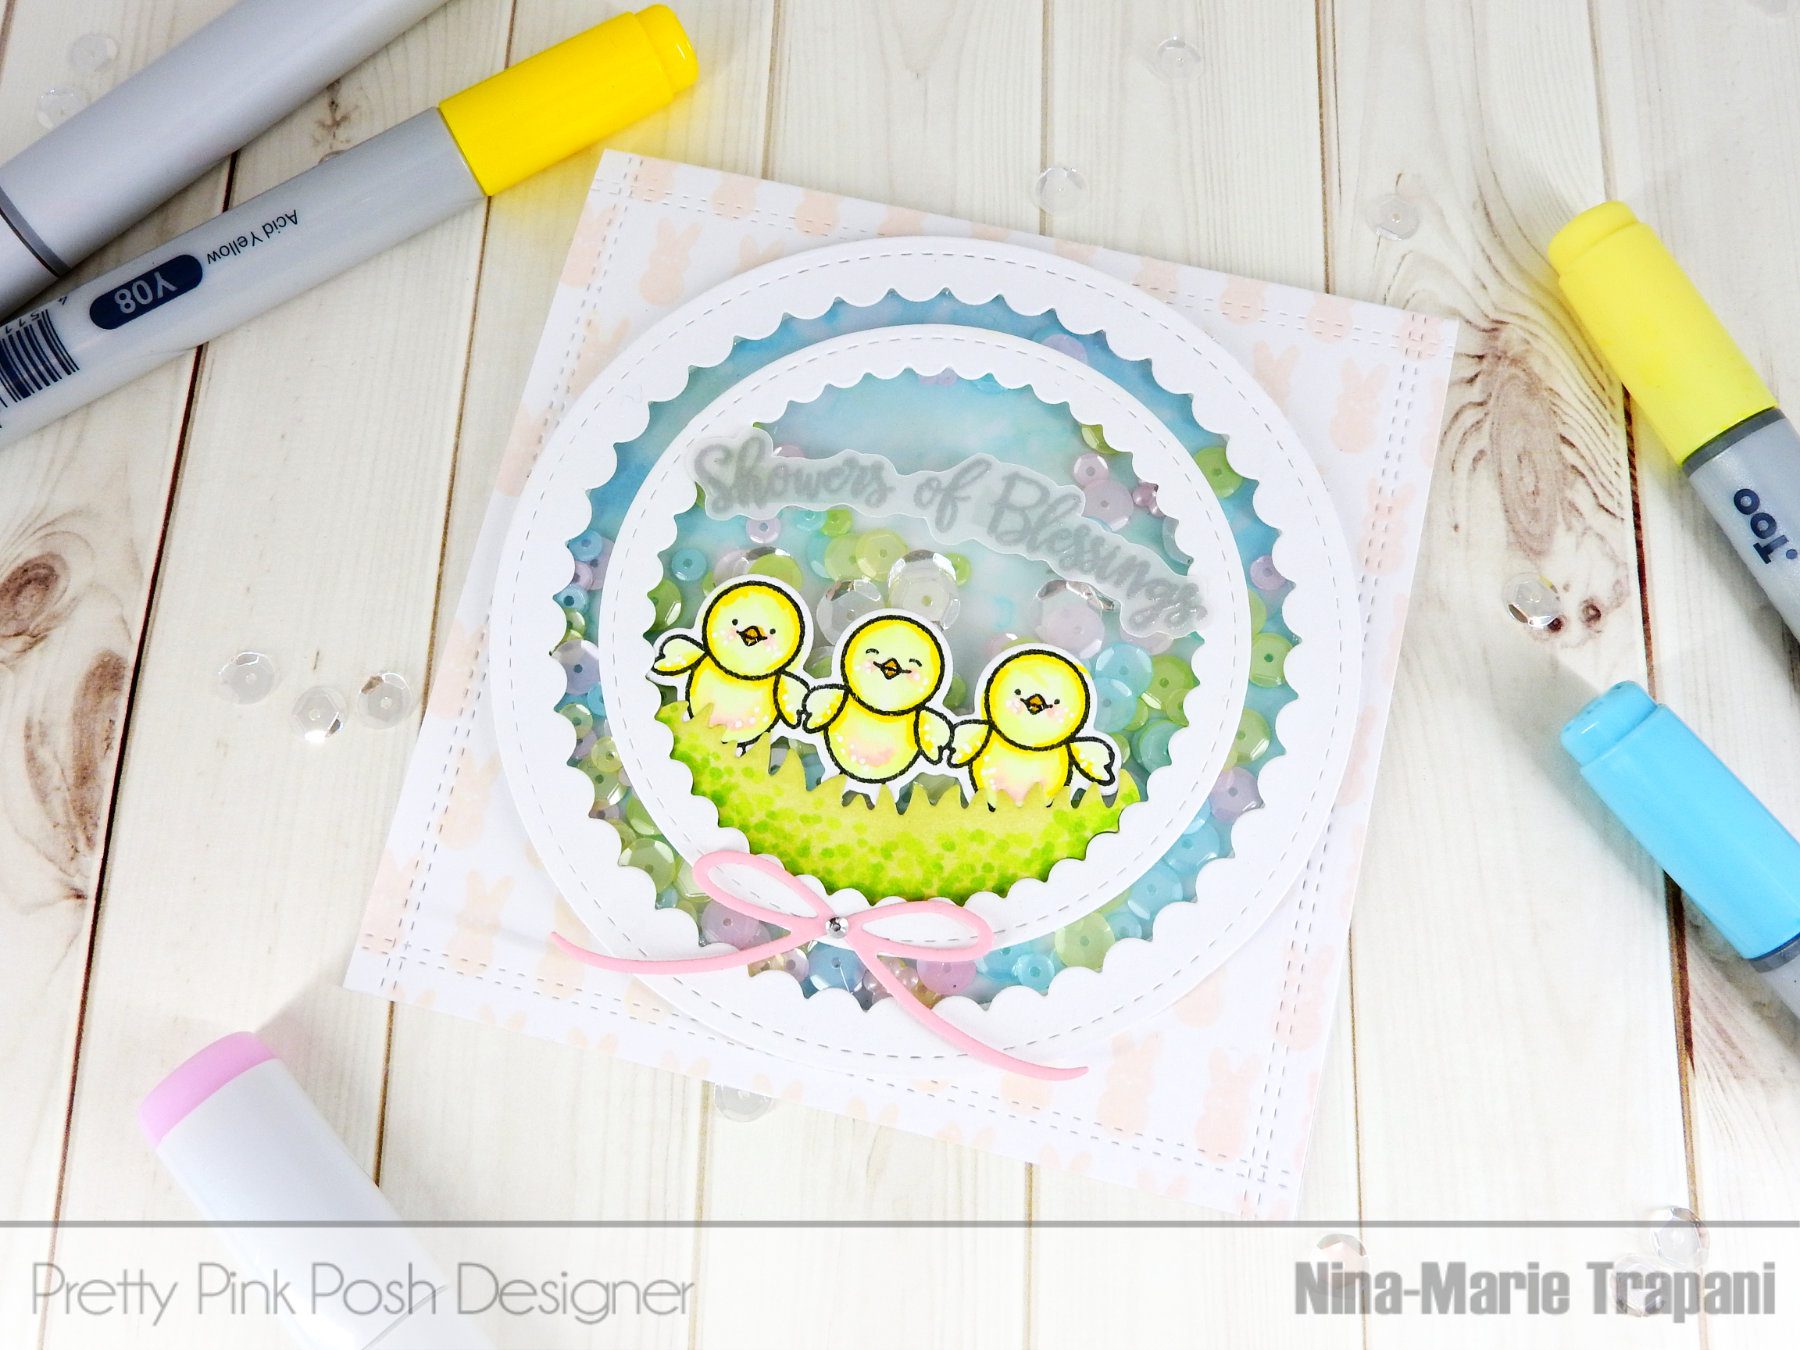
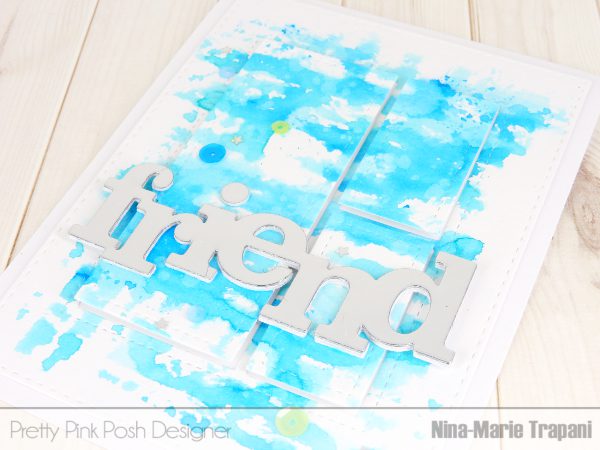
If you are looking for more inspiration using the new January release from Pretty Pink Posh, be sure to check out this card I’ve created here:
Your next stop in today’s hop is the incredible Sandy Allnock! If you get lost, or want to check out the rest of the stops along today’s blog hop, you can find the complete list below:
Pretty Pink Posh blog
Amy Kolling
Yoonsun Hur
Stephanie Klauck
Laura Bassen
Nichol Magouirk
Anna Kossakovskaya
Wanda Guess
Heather Hoffman
Nina-Marie Trapani
Sandy Allnock
And of course, no hop is complete without some fabulous prizes along the way! Be sure to leave comments on this post and all the other posts in today’s hop list… for even more entries, stop back at the Pretty Pink Posh blog over the next couple of days for more hopping and fun!

PRODUCTS

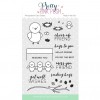
 Stitched Tabs PRETTY PINK POSH